In this Lesson we show how to make high contrast black and white images by processing raw format camera images using Adobe Lightroom.
If you have not used Adobe Lightroom at all, then before doing this lesson on Black and White Images, you need to go through our introduction to Lightroom lesson.
The context for this previous lesson is using Lightroom for Sunset Photos, but it will show you the basic functions of Lightroom, and the workflow.
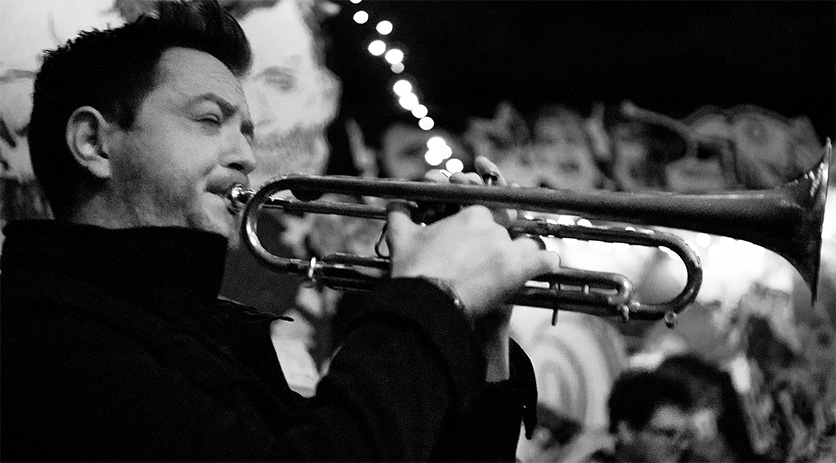
Recently we went along to take photos at a Jazz Club, but the lighting was very low, and extremely red in tone.
So we shot in Raw + JPG mode, using a Sony A77 MkII at ISO 1250, and very slow speeds of 1/30th to 1/50th, which meant we had to hold the camera very steady.
Fortunately the Sony A77 has great inbuilt image stabilisation.
We also used an F1.8 35mm Sony Lens, so that we could get nice background blurring, and let in as much light as possible.
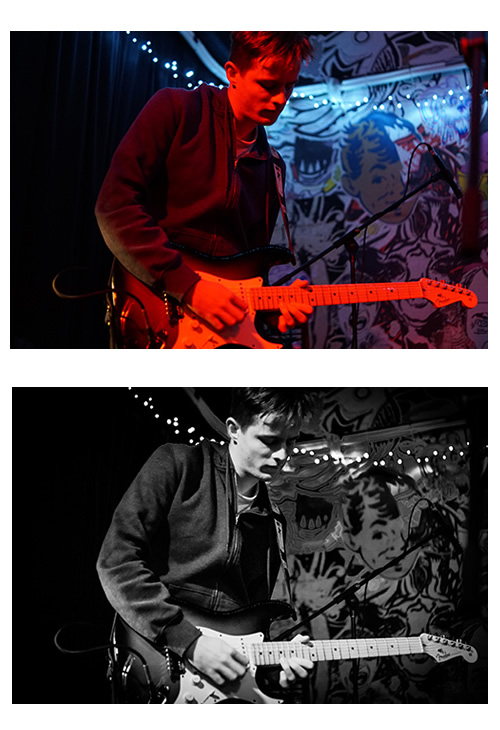
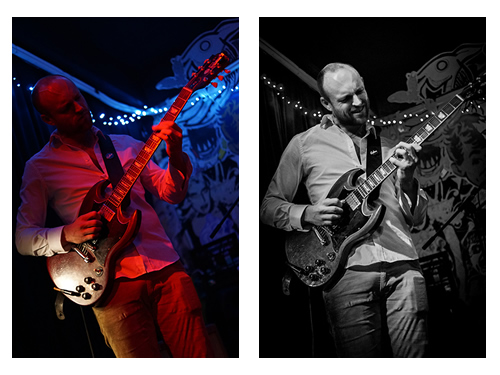
Before and After Images
The resulting images were not great quality, but we used Adobe Lightroom to convert the Raw files into high contrast black and whites and got quite reasonable results.
Here are a series of Before and After Images.
Lightroom Workflow
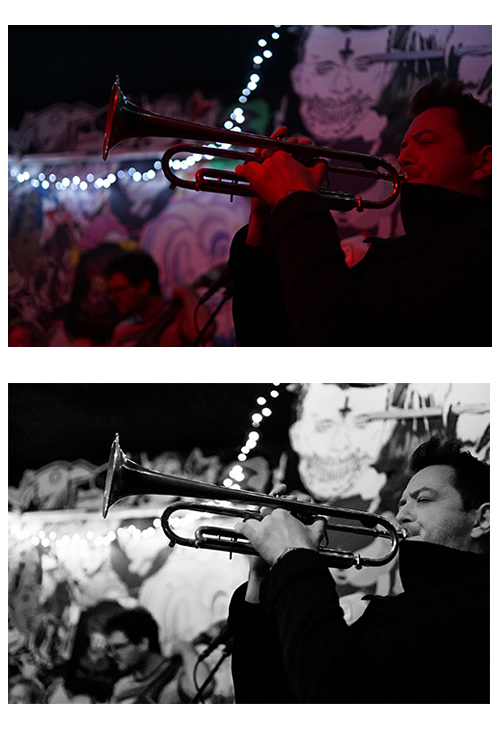
Our objective was to make high contrast black and white images, and so during Lightroom adjustments we were looking to increase contrast, as well as increasing the blacks in our image.
We also worked on the Whites, as well as the Blue and Green parts of the Black and White Adjustment to make the background strings of “fairy lights” really stand out as very white overexposed bright round items.
The exact workflow we used was similar to the ten steps we used for processing sunset photos.
The basic workflow we used to make our Black and Whites is as follows:
1) White Balance – just usually give it a slight Temperature Change to the left to reduce the red warmth from the red lights.
2) Adjust Highlights and Shadows – Highlights generally down, and shadows generally to the right.
3) Clarity up to around 40% as a maximum, which adjusts midtones, and adds a sharpness type effect to the image
4) Whites and Blacks – Hold down Alt, and the whites screen goes black, then we add whites until only the first set of highlights (the background fairy lights) show through.
Also hold down Alt to adjust the blacks on its all white screen, and go quite strong to the left on these.
5) Saturation and Vibrance – Saturation does all the colours, Vibrance only adjusts the colours that are not already saturated.
Since we are doing Black and White images, adjusting these is irrelevant.
6) The HSL “B&W” Adjustments
On the HSL panel, there is a B&W option to the far right which we click to make our photo black and white.
We then use the colour sliders that are there to adjust the various shades of grey in the photo, always aiming for high contrast with the blacks very black.
7) Detail Panel for doing Sharpening and Noise Reduction. Here we sharpened our images.
8) Paintbrush Tool – we did not use this at all on any of the images.
9) Filters – the vertical rectangle symbol between crop and paintbrush on the top row of the right hand column.
We can move the filter up and down, change its width, and tilt it using the middle line in it.
We used both rectangular and spherical filters to brighten up instruments and faces on some images.
10) Effects Adjustments – A large Black vignette, moving the slider a considerable distance to the left worked really well on these photos.
We also made sure the feathering on the vignette was set between 50 and 100.
There you have it, the ten steps for making a Black and White image using Lightroom.
Gallery of Jazz Photos
A Flickr Gallery of our Black and White Jazz Photos can be viewed by clicking the link below.
Note that the last three images were made Black and White from JPGs using Adobe Photoshop, just to prove that Lightroom and Raw gave better results.
The other images are all Raw format images that have been processed using Adobe Lightroom CC.
There are only 14 images in total (from about 170 photos that we took on the night) because it was so hard to get crisp images shooting at below 1/50th of a second.
Flickr Gallery of Black and White Jazz Photos
Lightroom How To Videos
The following three videos show extra workflow steps to make some really dramatic and beautiful black and white images.
The first video shows how to create very dramatic Black and White Image.
This next video shows how to make a dark B&W photo, as well as a very high dynamic bright B&W photo, both from the exact same raw image.
This video shows how to make very grungey B&W portrait photos, which could work really well with Jazz photo close ups.
Jazz Music Video
We also made a short video of the Jazz using a Lumix LX100 Pocket Camera.
Due to the “radiation red” low light conditions, the Lumix shot at a very high ISO level, so the image quality is not as good as we would have liked.
We tried making the video Black and White in Adobe Premiere, however the movie was far too grey and white.
We need to learn how to make good high contrast Black and White Movies, so there’s a great idea for a future PBP “How To” lesson.
Enjoy,
Passy