Welcome to our Free Online Digital Photography Course!
Music and Photography are my passions.
Teaching Mathematics, Photography, MultiMedia, and ICT is my “Day Job”, but I manage to get out and about most weekends working as a Photographer.
Modern Digital Photography actually involves quite a bit of behind the scenes Mathematics.
An understanding of this Mathematics can definitely make you a better Photographer, even if it just means you know the best Viewpoints, Angles, and Geometric Composition to use when taking pictures with a Mobile Phone.
I have found that understanding the Mathematics of a DSLR Camera really helps me do fast effective problem solving on Photoshoots.
But don’t let a bit of simple mathematics put you off doing Digital Photography. There are lots of proactical examples and explanations to get you through.
Digital Cameras have preset Auto Modes which work well in about 80% of situations, but there are other times when a Camera needs to be put into full Manual Mode and some Mathematical Problem Solving invoked.
Here at Photos By Passy we have produced a comprehensive series of articles on Digital Photography, including plenty of real life examples as well as selected Videos which can be viewed.
We recommend working through these articles in the order in which they appear in the Overview Below.
The eight Digital Photography articles are as follows:
– Photo Composition Rules
– Digital Camera Settings
– ISO Light Sensitivity
– Aperture Settings
– Shutter Speed Settings
– White Balance Settings
– Combining Settings for Correct Exposure
– Flash Photograpy and Diffusers
Contained below is an outline of each article followed by a clickable link to the full article.
It is important to work through the articles in the order they are given here.

Like great Works of Art, the elements in a Photograph need to be arranged in a manner which is interesting and pleasing to the eye.
In addition, Photography is a two dimensional medium. Therefore we need to make use of the elements which are present in the photo to create a sense of depth and three dimensions.
Photos also need a main focal point, as well as leading our eyes on a journey through the picture.
Having these things makes for great photos, which are pleasing to the eye, and we call this “Composition”.
There are a Number of Composition Rules involving Percentage, Geometry, Symmetry, a Grid of Thirds, and even the “Golden Ratio” and its spiral.
To find out about these rules and their Mathematics, click the link below:
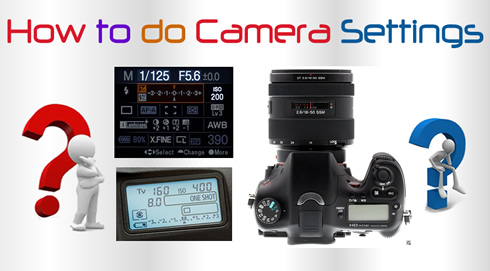
Most people use their camera on “Auto” mode, and get plenty of good pictures.
However, there are many items on a camera which can be adjusted manually to get even better pictures!
In this “How To” article we introduce several of these camera settings, and show how they can be used to create quality photos.
An overview of the three main Variables: “ISO Light Sensitivity”, “Aperture”, and “Shutter Speed” is provided.
This provides the preliminary background to more detailed articles on each of these three key items.
It is therefore vitally important to read this article before proceeding forward to the specific detailed articles.
To read the Introductory Article about Camera Settings, click the link below.
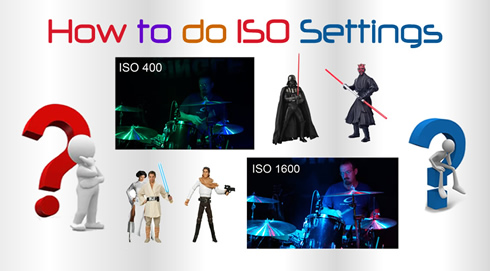
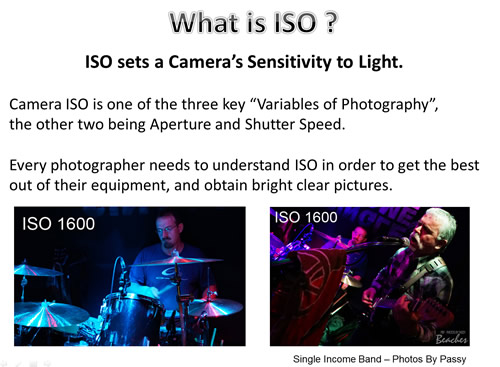
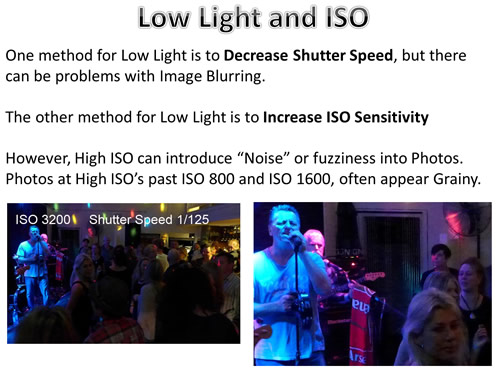
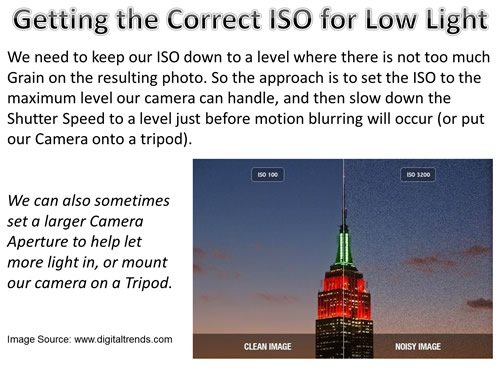
ISO sets a Camera’s sensitivity to light
Effectively it works like a Brightness Control on your camera, and you can turn it up higher if you are in a dark room, or in a shady forest.
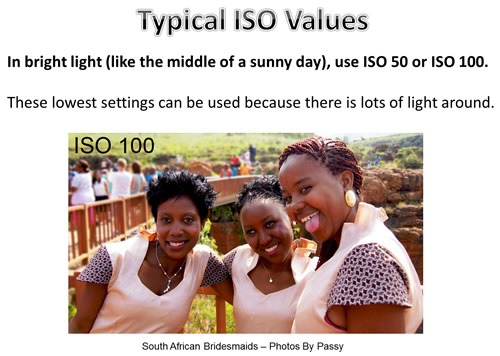
If you are in Bright Sunlight, then you need to turn the ISO down to a low value or else your photo will come out all white and washed out with too much brightness.
Camera ISO is one of the three key Variables of Photography, the other two being Aperture and Shutter Speed.
Every photographer needs to understand ISO in order to get bright and clear pictures from their equipment.
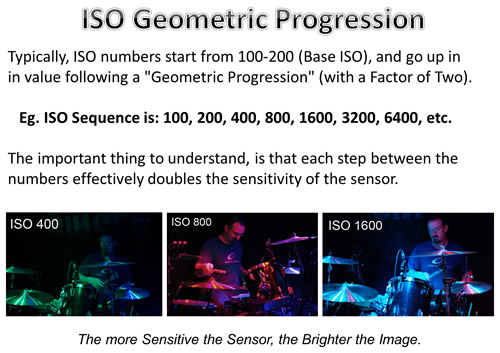
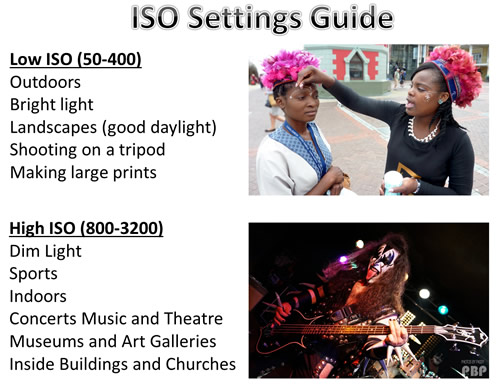
The ISO sequence is: 100, 200, 400, 800, 1600, 3200, 6400 and etc. For every step up in this scale, the brightness of your picture doubles.
To get the full story on ISO and how to set it correctly on Digital Cameras for a variety of lighting conditions, click the link below.
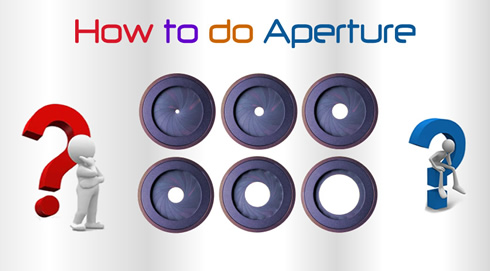
Aperture is one of the key variables in Digital Photography. The other two are ISO Light Sensitivity and Shutter Speed.
An understanding of Aperture is critically important to isolate subjects in portraits and get full detail in Landscape pictures.
The Aperture Scale consists of a seemingly odd set of decimal and whole numbers, and getting your head around these values is not at all easy for Beginner Photographers.
In this article we examine Aperture in detail, and mathematically explain where the Aperture “f-numbers” come from.
Click the following link to read the full article.
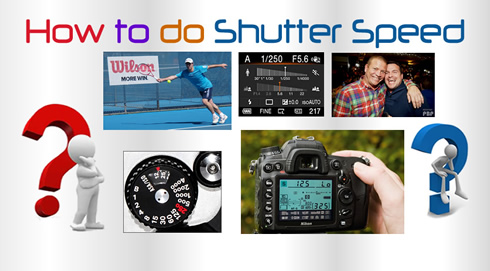
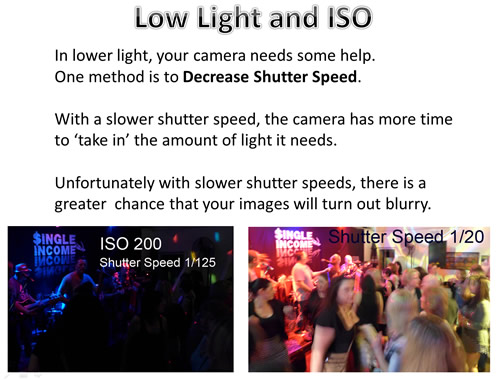
Shutter Speed is mainly used for creating dramatic effects by either freezing action or blurring motion.
The Speed is expressed in a fraction of a second, and is how long we let light in through the camera lens to the sensor.
Think of the Shutter as like opening and closing a set of venetian blinds quickly to let a burst of light into a darkened room.
Shutter Speed, (also called “Exposure Time”), becomes critically important in situations outside of the norm, such as the following:
1) Fast Moving Sports Action
2) Dimly lit indoor areas such as Bars and Clubs
3) Night Time Photography
4) Theatre and Musical Performances
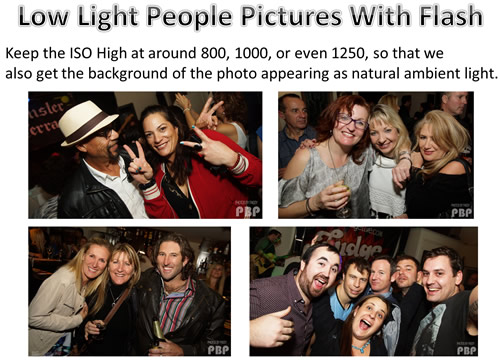
5) Indoor Photos using Flash
6) Indoors Photos where we do not use Flash
7) Photos where we want motion blur for fast moving objects
8) Bird and Wildlife Photography
9) Photographing Young Children and Animals
In this article we will show you what Shutter Speed is, what the speed numbers mean, and how to set shutter speeds to values which should produce great photos.
Click the following link to read our article on Shutter Speed.

Different light sources produce light with slightly different colour tints, but our eyes do a great job correcting these variations.
Humans do not see a shift in colour as we move from a sunny garden into a shaded area, or go into a room and turn a light on.
Generally wherever we are, a piece of plain white paper always looks white.
However Digital Cameras DO detect light source differences, and sometimes create pictures with incorrect looking colours in them.
We need to know how to perform “white balance” adjustments, so that we can obtain pictures with realistic colours in them.
White Balance involves the Primary Colours of the Spectrum forming a Kelvin Temperature Scale from “cool” blue/violet through to warm “red” candle light.
What we have is a Mathematical Scale of color, and White Balance blends various colours together so that a white sheet of paper will look white, no matter what coloured lighting we are in.
You can read the full article on White Balance at the following link:

In this article we look at Combining Variables for Correct “Exposure”.
We tie together the three key Digital Camera Variables: ISO, Shutter Speed, and Aperture, and discuss how to set these up to get good exposures in Camera Manual Mode.
When these three variables are optimised and unified together, we get a nice clear picture with great contrast and highlights. We say that the photo is correctly “Exposed”.
You can read the full article on Getting Correct Exposure Using Key Variables at the following link:
Combining Variables for Correct Exposure
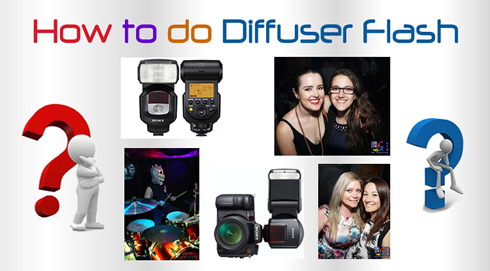
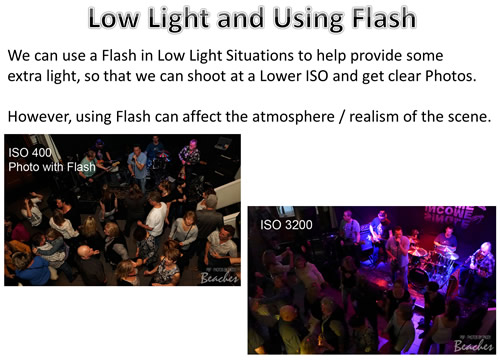
In this article we discuss Flash Photography and how to use Light Diffusers to make Flash Photos look so much better.
Diffusers come in all types of Geometric Shapes and Sizes and create softened light which is more like Daylight.
The Intensity of Light from a point source like an on camera Flash follows an Inverse Square Law with the Distance the Flash is from the subject.
This is very important to have an intuitive idea about Inverse Square Law when changing the Power on a Flash, or when we move further away from the subject being photographed.
The full article about Flash and Diffusers can be read at the following link:
Flash Photograpy and Diffusers
Working through this series of articles will definitely make you a better photographer.
Keep in mind that I spent a couple of years working with Digital Photography to reach this level of understanding to a point where I could write about it to share my knowledge with others.
So if you are a complete beginner and feel a bit overwhelmed, then that is okay, these things just take practice and time.
It is best to work through all of our eight articles a bit at a time, try things out, and then come back to the articles to pick up a bit more of the finer detail.
The Maths is helpful, but the main thing about being a Photographer is to get out there taking lots of pictures!
Life is short and there can never be too many photos of its little magic moments!
Enjoy,
Passy