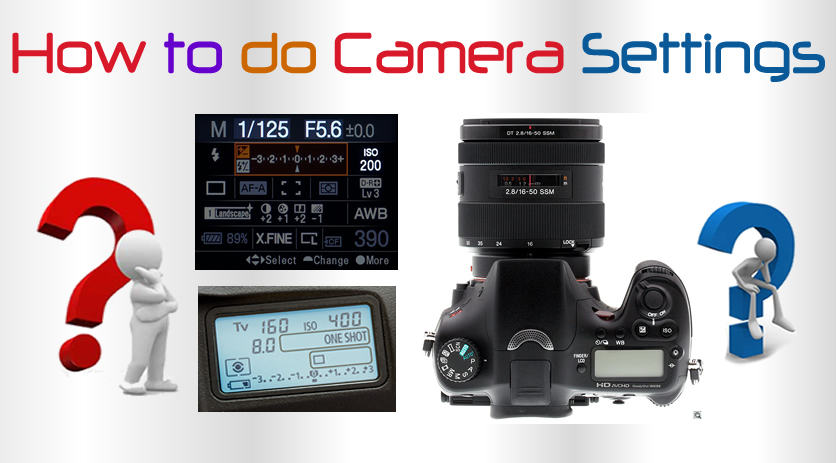
Most people use their camera on “Auto” mode, and get plenty of good pictures.
However, there are many items on a camera which can be adjusted manually to get even better pictures!
In this “How To” article we introduce several of these camera settings, and show how they can be used to create quality photos.
Camera Variables
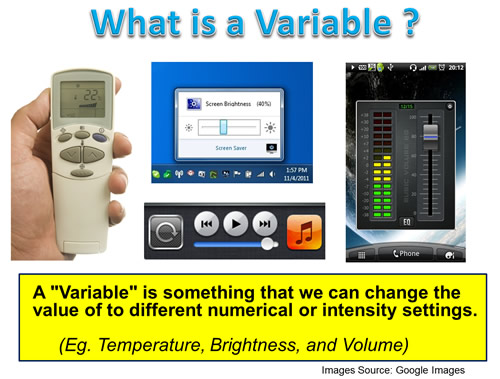
A “Variable” is something which we can change the value of to different numerical settings.
Eg. The Temperature Setting on an Air Conditioner, the Volume on a Music Player, or the Brightness on a Mobile Phone.
On Digital Cameras there are several items (or “Variables”) which we can change the value of before clicking the button which takes the photo.
In this “How To” Guide we provide an introduction and overview about these Digital Camera Variables.
Separate detailed “How To” Guides, (which are not part of this particular article), examine each of these variables in detail.
The Guide on “How to Do Exposure” is all about how we combine all the Variables to get the best possible photo for a given set of lighting and subject matter conditions.
See the “Related Items” section at the end of this article for links to these detailed “How To” Guides.
Digital Camera Variables
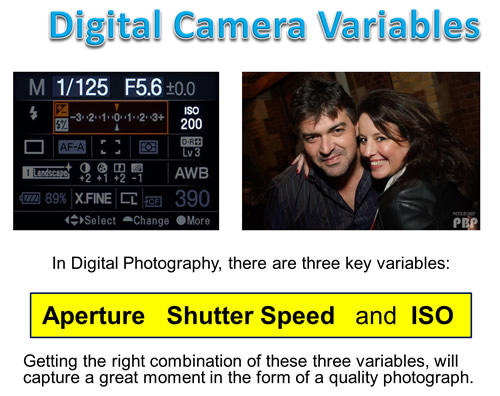
In Digital Photography, there are three key variables:
“Aperture”, “Shutter Speed”, and “ISO”
Getting the right combination of these three variables is how we can capture a moment in the form of a great photograph.
When we take a shot with a Camera:
– Aperture is how wide the “tunnel” or “hole” leading from the lens to the sensor is set at
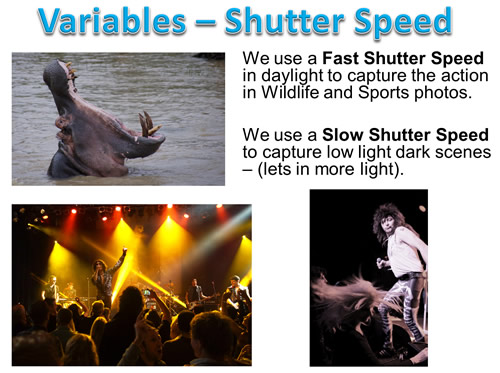
– Shutter Speed is how quickly the inside of the camera opens and closes to let light through to the sensor
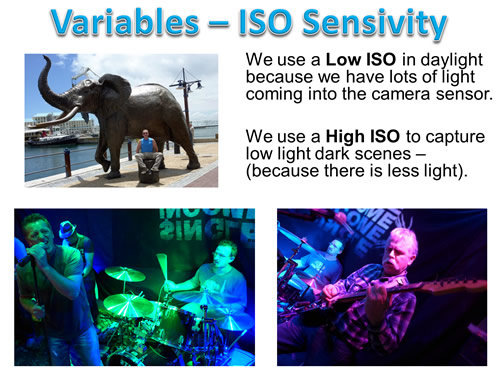
– ISO is the sensitivity to light that the pixel sensor is set to.
Aperture
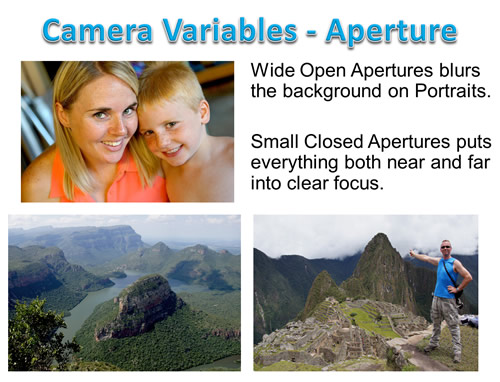
Aperture affects how much light enters the camera, and creates blurred backgrounds for Portraits and full details for Landscapes.
For Portraits we set a wide open Aperture to let in plenty of light, and this also blurs the background. This makes attention focussed on the person.
For Landscape shots we want the foreground as well as everything in the background to all be in focus. Using a small narrow Aperture makes this happen.
There is a detailed “How To” article on Aperture at the following link:
Shutter Speed
Shutter Speed needs to be set to a fast value to capture wildlife or sports action, but needs to be set very slow to let enough light in for sunsets or night scenes.
There is a detailed “How To” article on Shutter Speed at the following link:
ISO Light Sensitivity
For ISO Light Sensitivity – In bright daylight, the sensitivity or “ISO” can be at a low value.
Eg. In daylight conditions there is plenty of light coming through the camera lens to the sensor, and so the sensor does not need to be made to catch any extra light.
However for sunsets, shade, indoor, and night scenes, the light sensitivity ISO needs to be increased; otherwise we get a very dark picture with no detail.
There is also the low light solution of using a Flash to provide the equivalent of Daylight; however sometimes indoor scenes, especially those capturing musical or theater performers, look a lot more natural without Flash.
There is a detailed “How To” article on ISO Light Sensitivity at the following link:
White Balance and Colour Temperature
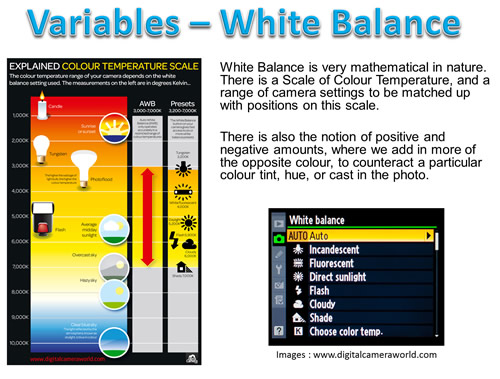
There is a Fourth Variable associated with Digital Photography known as “White Balance Colour Temperature”.
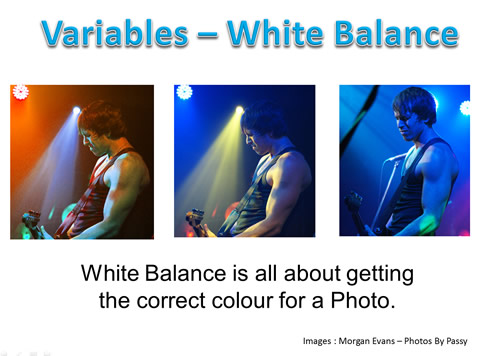
White Balance (or “WB”) involves having the colour white turn out correctly in photographs that are taken outside of normal daylight conditions.
These types of conditions include Shade, where photos turn out blueish in color, indoors where orange/yellow light often dominates, and musicians performing under coloured stage lights.
White Balance is covered in full detail in our “How to Do Camera White Balance” article, which can be found at the following link:
How To Do Camera White Balance
Preset Modes on Cameras
Modern Digital Cameras have one or more fully “Automatic” modes, as well as special preset or “Scene” modes.
These generally do a great job of setting up the Aperture, Speed, and ISO variable values for us.
All we have to do is “shoot” or “snap” the picture, and the results look fantastic.
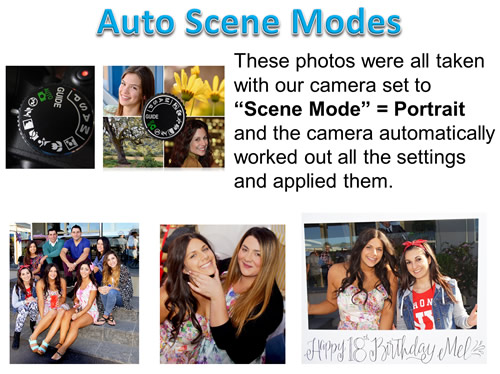
For example, if we set our camera to “Portrait” and take a picture of a person outdoors, it will turn out nicely with “bokei” (Background Blurring).
The Birthday Party pictures shown above were all taken using daylight portrait mode, which set our variables well, and also softened skin tones to make nice looking people photos.
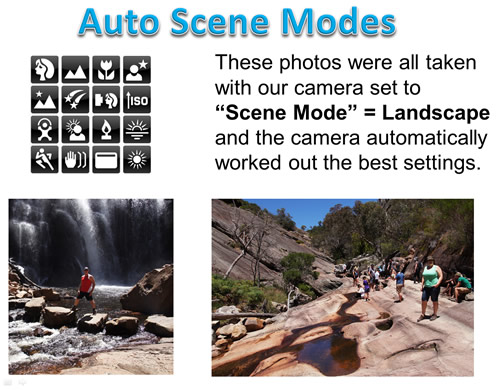
However, if we set our camera to “Landscape”, the camera will make a nice bright picture where things both near and far from us are all in detailed focus.
Here is a great three minute video all about using Preset “Scene” Modes.
Auto and Scene Mode Limitations
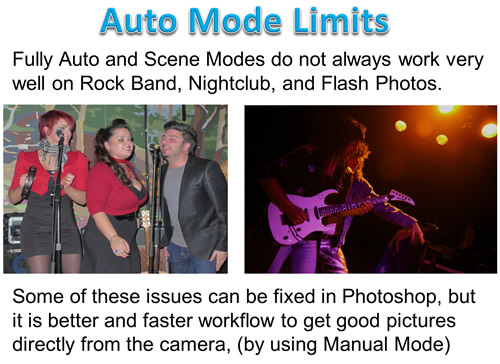
Problems arise when we venture outside of normal daylight conditions, and attempt taking indoor shots without Flash, or we take portrait or party pictures with flash.
These “low light” and “Flash” photos often do not turn out as nicely as we would like them to.
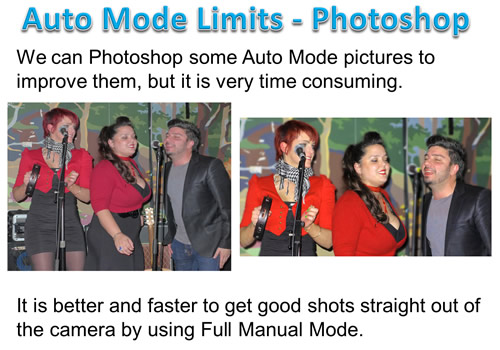
We can Photoshop some of these pictures to improve them, but it is very time consuming.
It is better and faster to get good shots straight out of the camera by using Full Manual Mode, which will be discussed shortly.
Special areas of difficulty are photographing Rock Bands, Indoor Sports events, and Night Clubs, where there is not full daylight, and people are moving around.
On some Sony cameras, using “Sports” mode will sometimes produce reasonable shots in these conditions, and Canon cameras have a “Television” mode which sometimes works.
However, the best results for “low light” photography can be obtained by setting your camera to full “Manual” mode, and adjusting the variables yourself – fast enough shutter speeds to freeze action, wide open apertures to let as much light in as possible, and high ISO sensitivity so the camera sensor will work like “night vision” to pick up as much light as possible.
Full Manual Mode
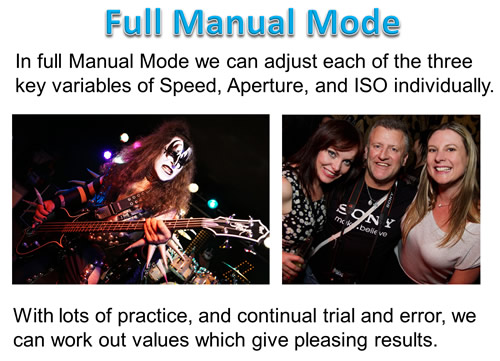
In full Manual Mode we can adjust each of the three key variables of Speed, Aperture, and ISO individually.
It takes a lot of practice, and continual trial and error, to work out sets of variable values which work well in different lighting conditions.
However, we can generally get better looking pictures in “low light” doing it all ourselves, rather than leaving it to the “best fit” computer program that is in our camera’s processor chip.
Really it is a matter of getting to know the particular Camera we are using – Taking lots of pictures set on different Variable Values and seeing what happens is the only way to do this.
Whenever a picture taken using Preset or Auto Modes is not to our liking, then it is very useful to be able to change to Full Manual Mode and try and figure out the best variable settings for ourselves.
Here are some Manual Mode settings which we regularly use on the Sony A77 camera with a 16mm to 50mm f2.8 Sony Lens mounted on it:
Music Bands in local venue with Colored Lights:
– ISO 1600, Speed 1/60 and 1/125, Aperture F2.8, Incandescent or Manually adjusted White Balance
Music Bands with Professional Stage Lighting:
– ISO 400 to 800, Speed 1/125th, Aperture F2.8, F3.2, F3.5, Auto White Balance
Music Bands Using Sony f1.8 35mm Lens:
– ISO 400 to 800, Speed 1/125th, Aperture F1.8, Auto White Balance
Flash Shots People Pictures:
– ISO 1000, Speed 1/125, Flash Width Manually set on 50mmm width and 1/16 to 1/8 Power (Manual with No TTL) using Sony HVL-43M Flash unit.
Videos About Camera Settings
The following video is fifteen minutes long, but well worth watching, as it does many practical photo examples showing exactly what happens as camera variables are altered:
This next video is also fifteen minutes long and shows directly how changing variables affects the brightness and contrast of a given sample picture.
Here is Part 2 of the above video:
Camera Settings – Summary
All of this might be a bit of information overload at the moment, but by gradually working through all of our “How To” articles, and trying out different settings on your own camera, we are sure that you will become a much better photographer who is able ot problem solve situations quickly when your photos are not turning out exactly how you would like them to.
This article was an introduction to using Manual Camera Settings, there are far more detailed guides all about shooting in Manual Mode in the “Related items” section below.
Good Luck, and keep taking pictures!
Passy
Related Items
How To Do Exposure and Shoot in Manual Mode
Subscribe
If you enjoy visiting Photos By Passy, why not get a free subscription to the website.
You can then receive notifications of new items and updates directly to your email address.
Go to the subscribe area on the left hand sidebar, (or down the bottom of the page if using a mobile phone), fill in your email address and then click the “Subscribe” button.
Enjoy,
Passy
