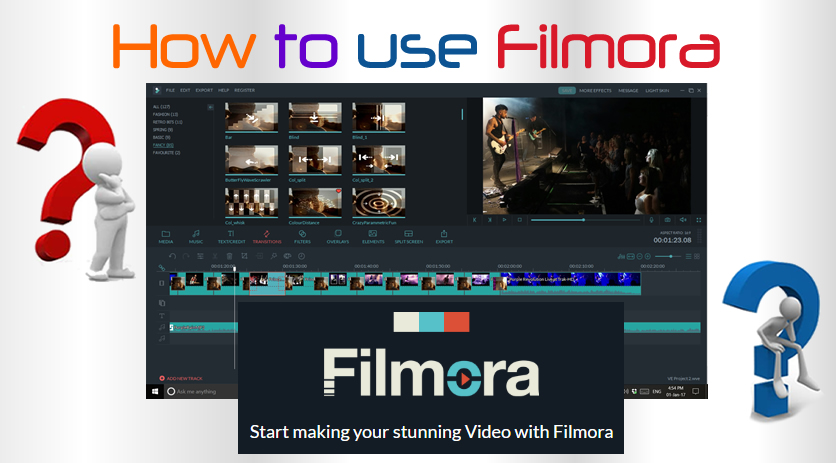
Filmora is an easy to use but very powerful video editor made by Wondershare.
Recently we purchased and tried out the “Wondershare Filmora” Video editor for a combination Music Video / Photo Slideshow project.
It was so much easier than editing in Adobe Premiere and has some great built in effects. These effects would be extremely time consuming to make in Adobe After Effects, but in Filmora they are incorporated into your video with just a couple of simple clicks.
The output H.264 MP4 HD 1920×1080 Quality was sufficiently crisp and clear. The only issue we had was that our sountrack got slightly out of sync with some singing in the video, even though it was perfectly matched when played in the editor. Perhaps some of the effects we added cause some frames to be altered or removed during the rendering process. Our frame rate of the video footage was 25fps, and we set our project also at 25fps but still had the slight syncing issue in the output.
Here is our final Filmora Video Slideshow (click on Settings and watch at 1080p HD for best results).
In this lesson we fully cover Filmora and how it can be used to make videos and slide shows.
Filmora Overview
Filmora is an editor similar to Windows Movie Maker, but has much better overlay filters, titles, and transitions than other software.
The screen layout of the editor looks like this:
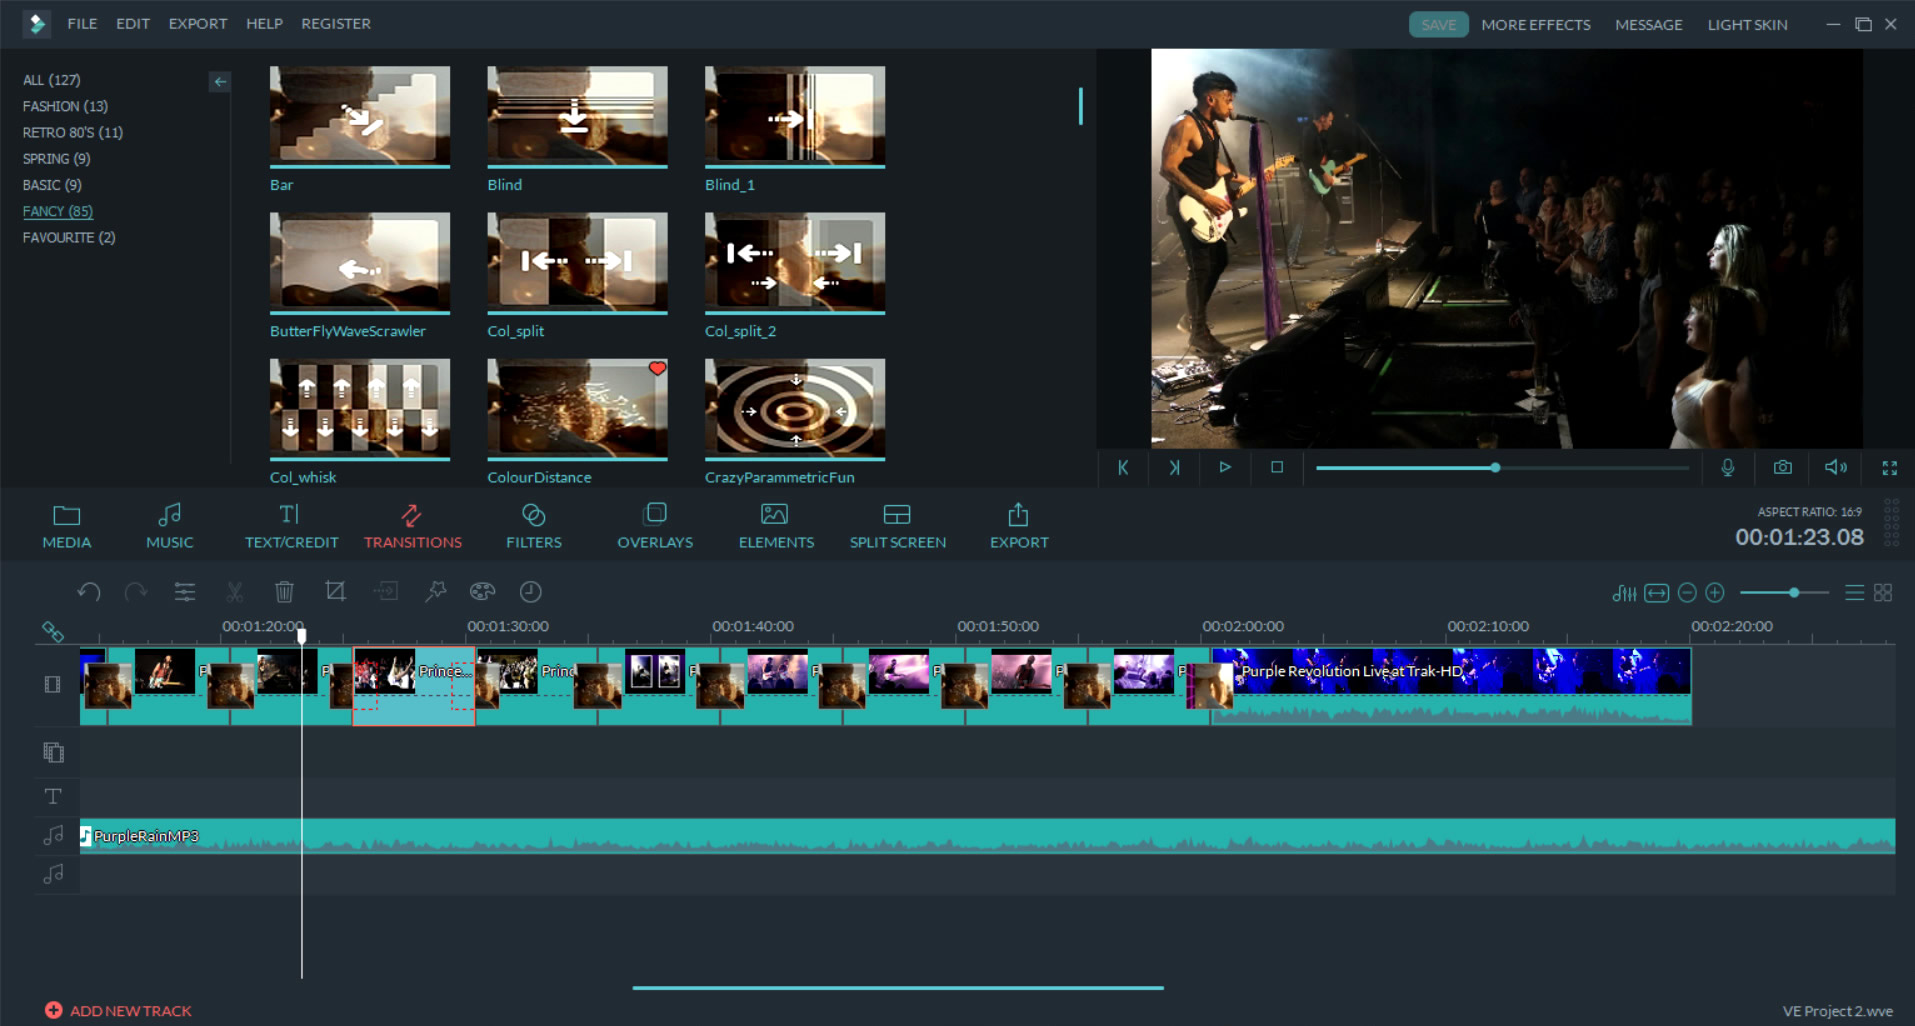
(Click Image to view full size)
Here is a two and a half minute video that gives a quick overview of Filmora.
Filmora User Guide
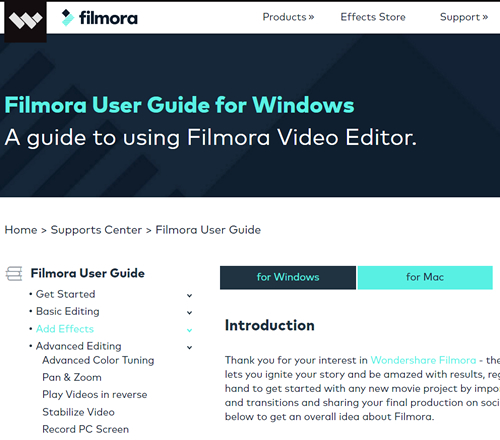
Filmora comes with a comprehensive Online User Guide that includes witten text, screen shots, and how to videos.
The online User Guide can be accessed at this link:
We found the following video to be useful for learning how to get started with Filmora:
The above video shows how to do picture in picture as well as screen recording and titles, filters, and transitions.
Typical of Filmora everything is very simple and easy to do and looks great.
Filmora for Slide Shows
One of the big reasons that Filmora is great for making Photo Slideshows is because it is so easy to add the “Ken Burns Effect” for custom panning and zooming.
When we right click on our photo or video in the timeline, and choose crop and zoom, we are presented with an easy to use panel.
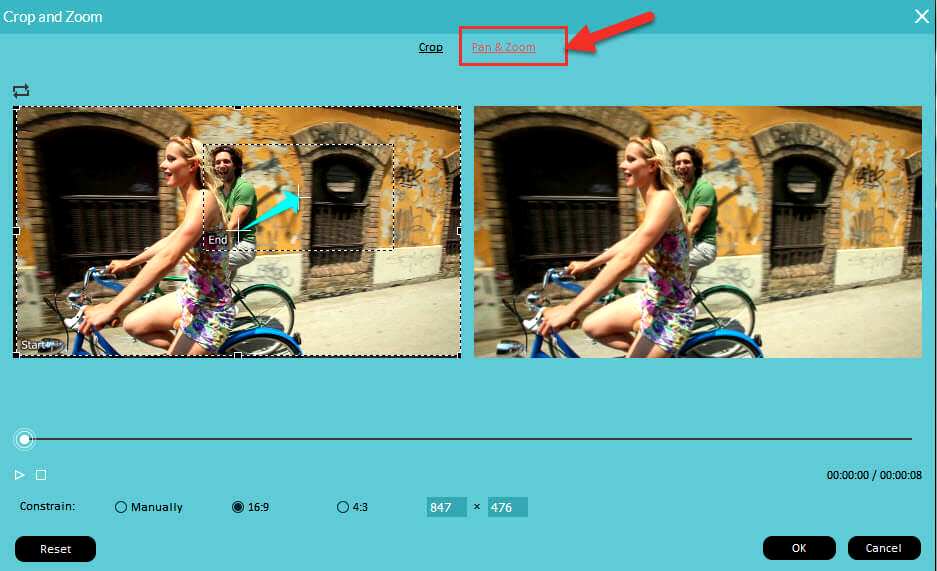
(Click Image to view full size)
Basically just click on the interior “End” crop and then move and shrink it to the position you wish to zoom into. It could not be any easier and makes slide shows look very professional.
It is all clearly explained step by step in the Online User Guide here:
To get the best quality slide show result we need to constrain crop our images in Photoshop to be exactly 1920×1080 pixels in size, and then save them as a high quality full JPG.
This means that when we put them into our Filmora timeline they are an exact fit. So on rendering they should not require any potential resizing that could affect their quality.
The 1920×1080 pixels sizing works fine for horizontal 16:9 ratio Landscape images, but what do we do about vertical Portrait images that we want to put into our Slide Show?
For Portrait images we used Photoshop and layers to make our own background with two white rectangles on it that become picture frames when we place portrait images onto them.
Eg. For Portrait images we need to make our own two image slide that is 1920×1080 pixels in size like this one:

(Click Image to view full size)
How to Color Grade in Filmora
Colour Grading is more applicable to videos than slide shows and is easily done in Filmora.
Colour Grading includes adjusting Colour, Brightness, Contrast, Colour specific Hue Saturation, and so on.
Filmora makes it very easy by having a series of Preset “LUTS” to choose from which can then be modified to taste. We access the artist paint palette icon above the timeline to get to these. We can also just start making our own colour grading from scratch, and we can save any settings we do as our own permanent presets.
A “LUT” is a “Look Up Table” for color correction, but we can think of it as just a preset effect that gives a certain look to the video clip, such as black and white, vintage old school, summer haze, etc. So if we choose a “LUT” called “Cool Blue” is will make our whole scene look cool and blue tinged like when someone is standing in shaded light.
The following video shows exactly how to do Colour Grading in Filmora.
Exporting Filmora Video
Filmora offers a vast variety of output formats for our final video product.
As for most video destined for the web, the best output format is H.264 MP4 video in HD at 1080p that is 1920×1080 pixels in size.
Here are the settings that we used to Export our Music Slideshow Video:
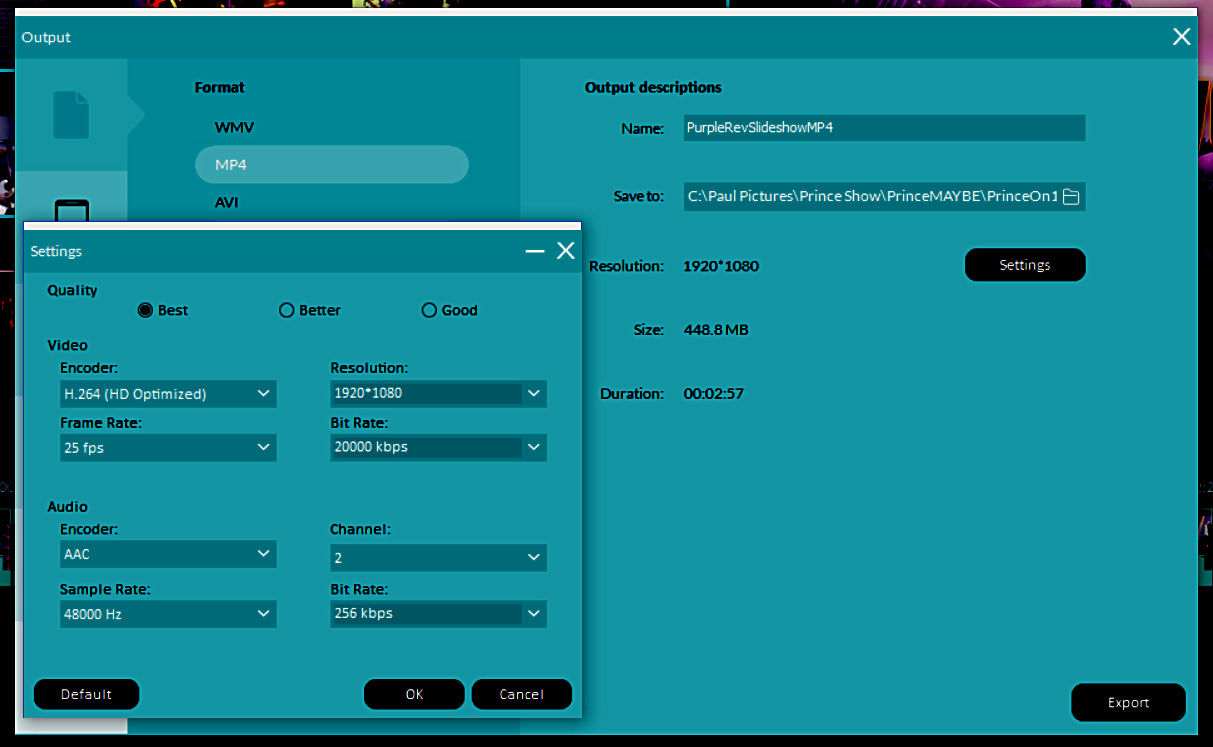
(Click Image to view full size)
Putting Images On Top
The following video shows how you can overlay your own clear background PNGs over the top of a slide or video in Filmora.
This next video shows how you can make an on top image move around the screen, like a PowerPoint fly in type title:
Filmora Effects Packs

Filmora comes at a cheap purchase price but is a lot more versatile if additional Effects Packs are purchased.
Most of these are reasonably priced at $9.99 each. So far we have purchased the “Retro 80’s” and “Fashion” effects packs.
The following video gives an overview of Filmora Effects Packs:
The Filmora Effects Store is located at the link below:
Something we have not quite figured out is that not all of the available packs seem to be shown on the official Filmora Effects page, and there are two tabs on the page that can be clicked to list effects.
For example, we only found the “Retro 80’s” pack by going to the “Fashion” pack, where the “Retro 80’s” pack then came up as a suggested addition.
Possibly some packs are seasonal, and so something like a Valentines Day pack is perhaps only available around Valentines Day time of the year.
Filmora You Tube Channel
Filmora has a great YouTube channel that has over 120 videos to help us with everything we need to know about the product.
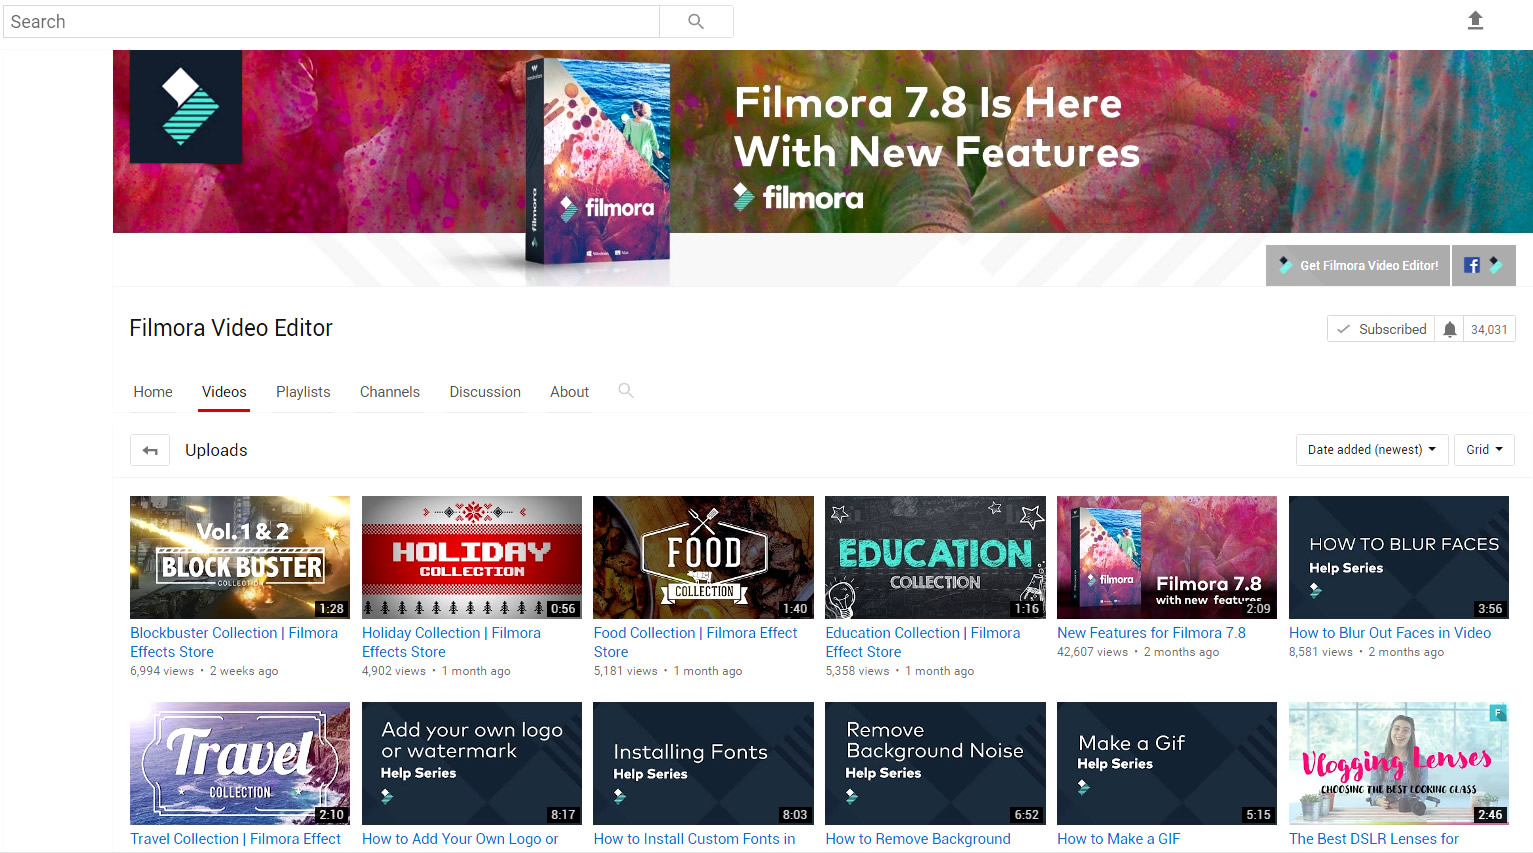
(Click Image to view full size)
Click the link below to go to the official Filmora YouTube channel:
Media Resources Channel
Gabrielle Marie has a YouTube Channel called “Editing Hacks” with all sorts of useful things that can be made and done in Pic Monkey and Filmora like this video inside a picture “End Slate” for a project:
Check out her complete YouTube channel here:
Getting Filmora
Filmora is available for Windows PC, Apple Mac, and Mobile devices.
Software is available as a free trial, but the free trial output videos will have a large watermark across the middle of them.
Filmora can also be purchased with a number of packages on offer including yearly subscription, lifetime copy, lifetime multi user, personal, business, and education.
Find out more at the Filmora Website:
Filmora Community

Joining the community is free and gives access to additional tutorials and information.
These tutorials cover specialised video making and developing You Tube channels.
Coming to the community soon will be the opportunity for people to submit videos to competitions and write blog posts to the community blog.
Conclusion
We have been loooking for a Slideshow Maker for our still images, particularly for our music photos.
We have found Adobe Premiere and After Effects to be far too complicated for this task, and have been fortunate to get onto Wondershare Filmora.
Filmora is simple to use, has great special effects, and produces quality HD output. Going forward it also has 4K video capacity. It is at a great price point, and people can elect to buy it outright, rather than have to pay an ongoing subscription.
Filmora has great video editing processing as well, and so we can use it for simple movie projects that do not require several layers for multiple camera footage.
Our current plan is to develop a new Product Line for Photos By Passy that involves offering clients Video Slideshows made with Filmora, as well as the usual set of still shots.
Our vision is that this will produce additional online materials for our clients, diversify our product offerings, and set us apart from the competition. Filmora will be with us at every step along this journey.
With its amazing price, and ease of use, we recommend it to all photographers as the go to tool for basic video work and Slide Show presentations.
Click the link below to trial and/or purchase Filmora today:
Enjoy,
Passy