Category Archives: Tribute Bands

How to use Filmora

Filmora is an easy to use but very powerful video editor made by Wondershare.

Recently we purchased and tried out the “Wondershare Filmora” Video editor for a combination Music Video / Photo Slideshow project.

It was so much easier than editing in Adobe Premiere and has some great built in effects. These effects would be extremely time consuming to make in Adobe After Effects, but in Filmora they are incorporated into your video with just a couple of simple clicks.

The output H.264 MP4 HD 1920×1080 Quality was sufficiently crisp and clear. The only issue we had was that our sountrack got slightly out of sync with some singing in the video, even though it was perfectly matched when played in the editor. Perhaps some of the effects we added cause some frames to be altered or removed during the rendering process. Our frame rate of the video footage was 25fps, and we set our project also at 25fps but still had the slight syncing issue in the output.

Here is our final Filmora Video Slideshow (click on Settings and watch at 1080p HD for best results).

In this lesson we fully cover Filmora and how it can be used to make videos and slide shows.


Filmora Overview

Filmora is an editor similar to Windows Movie Maker, but has much better overlay filters, titles, and transitions than other software.

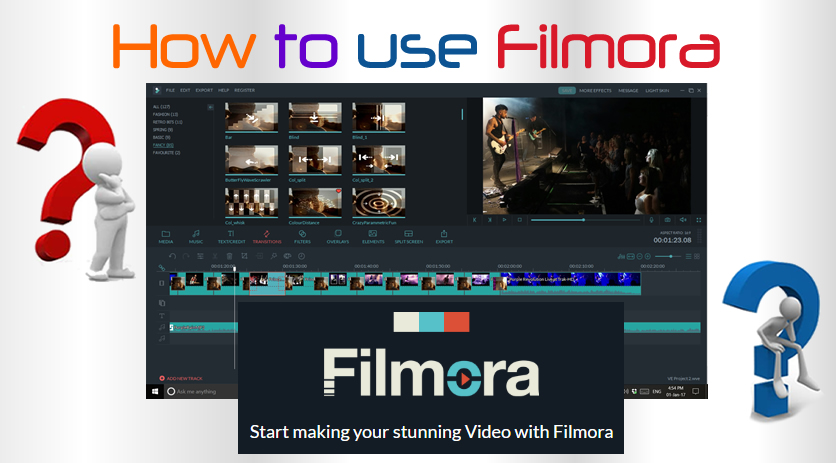
The screen layout of the editor looks like this:
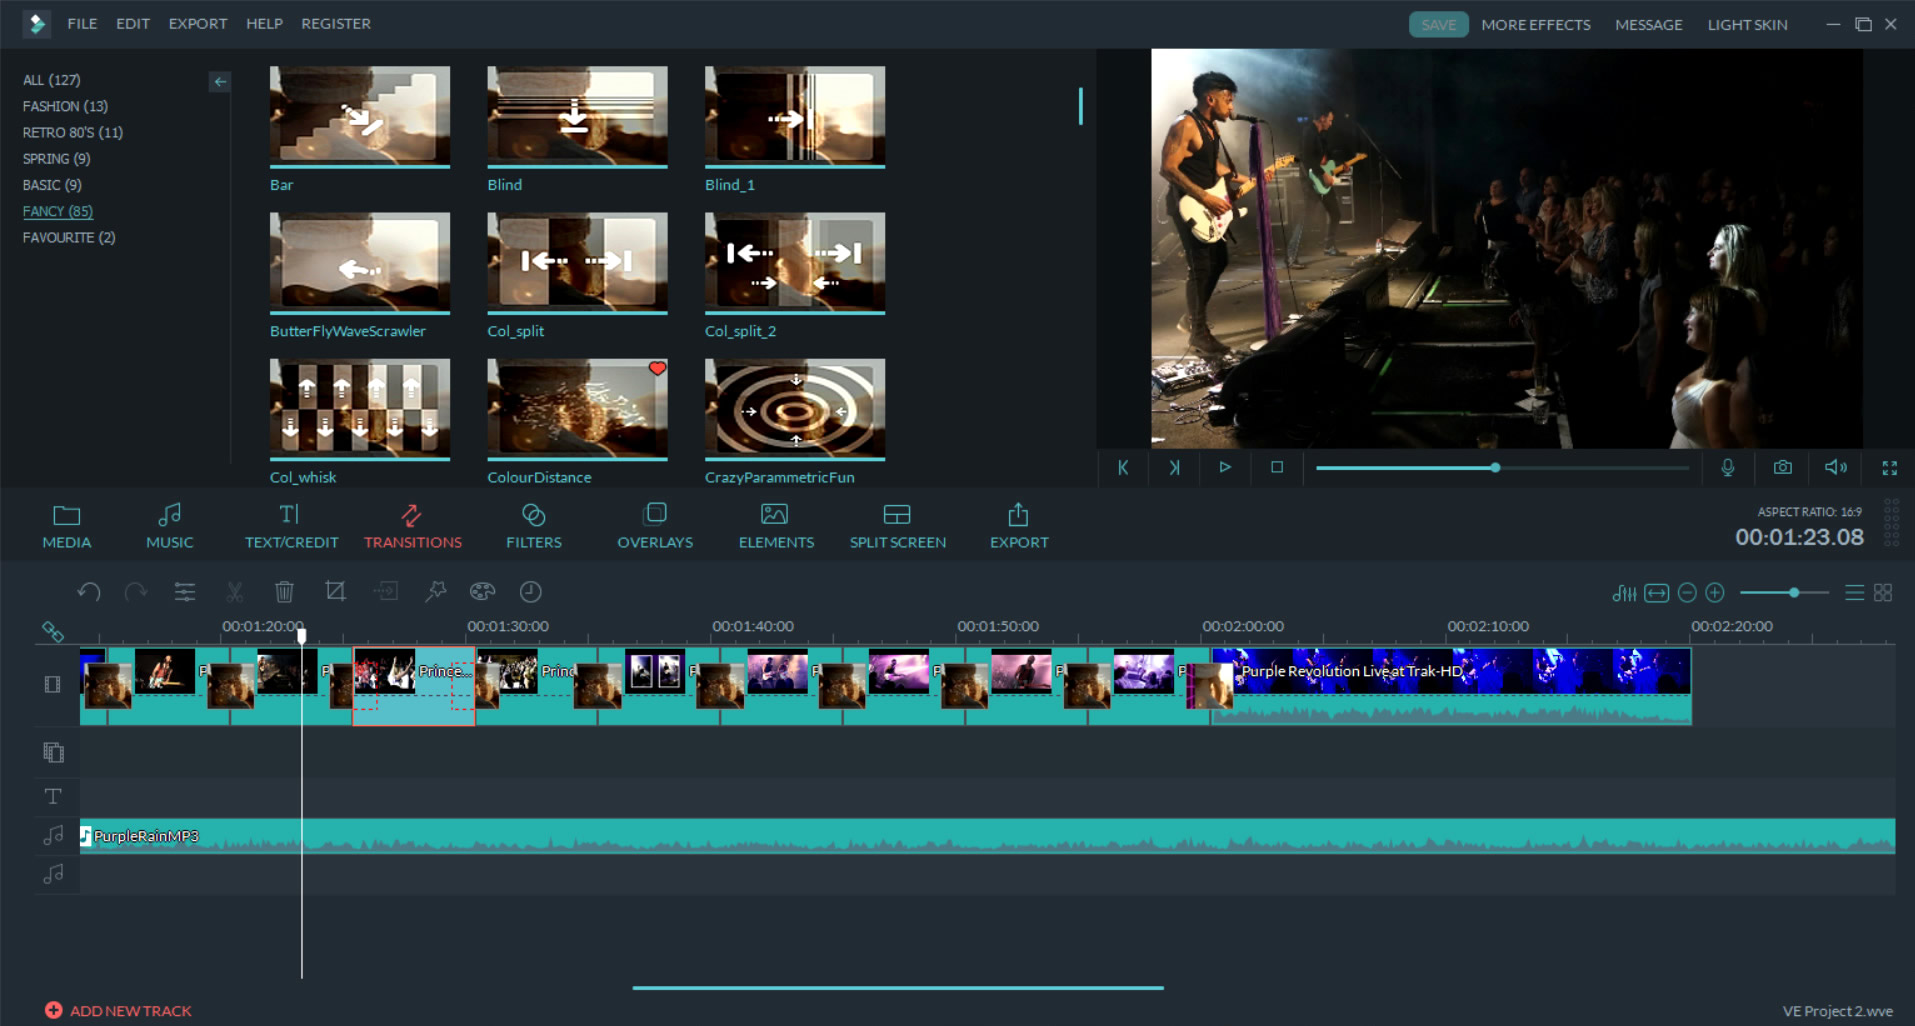
How to Use Filmora 01
(Click Image to view full size)

Here is a two and a half minute video that gives a quick overview of Filmora.


Filmora User Guide

How to Use Filmora 02

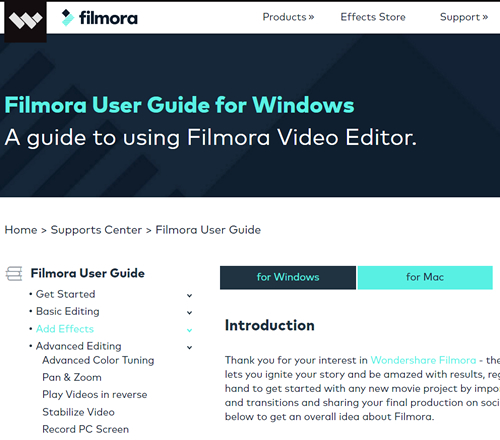
Filmora comes with a comprehensive Online User Guide that includes witten text, screen shots, and how to videos.

The online User Guide can be accessed at this link:

Filmora Online User Guide

We found the following video to be useful for learning how to get started with Filmora:

The above video shows how to do picture in picture as well as screen recording and titles, filters, and transitions.

Typical of Filmora everything is very simple and easy to do and looks great.


Filmora for Slide Shows

One of the big reasons that Filmora is great for making Photo Slideshows is because it is so easy to add the “Ken Burns Effect” for custom panning and zooming.

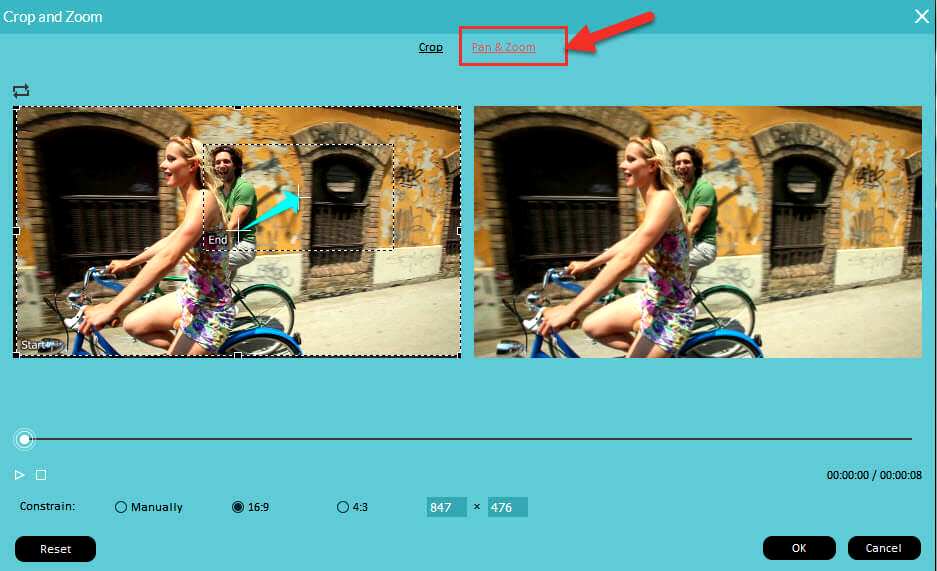
When we right click on our photo or video in the timeline, and choose crop and zoom, we are presented with an easy to use panel.
How to Use Filmora 03
(Click Image to view full size)

Basically just click on the interior “End” crop and then move and shrink it to the position you wish to zoom into. It could not be any easier and makes slide shows look very professional.

It is all clearly explained step by step in the Online User Guide here:

How to Ken Burns Pan and Zoom

To get the best quality slide show result we need to constrain crop our images in Photoshop to be exactly 1920×1080 pixels in size, and then save them as a high quality full JPG.

This means that when we put them into our Filmora timeline they are an exact fit. So on rendering they should not require any potential resizing that could affect their quality.

The 1920×1080 pixels sizing works fine for horizontal 16:9 ratio Landscape images, but what do we do about vertical Portrait images that we want to put into our Slide Show?

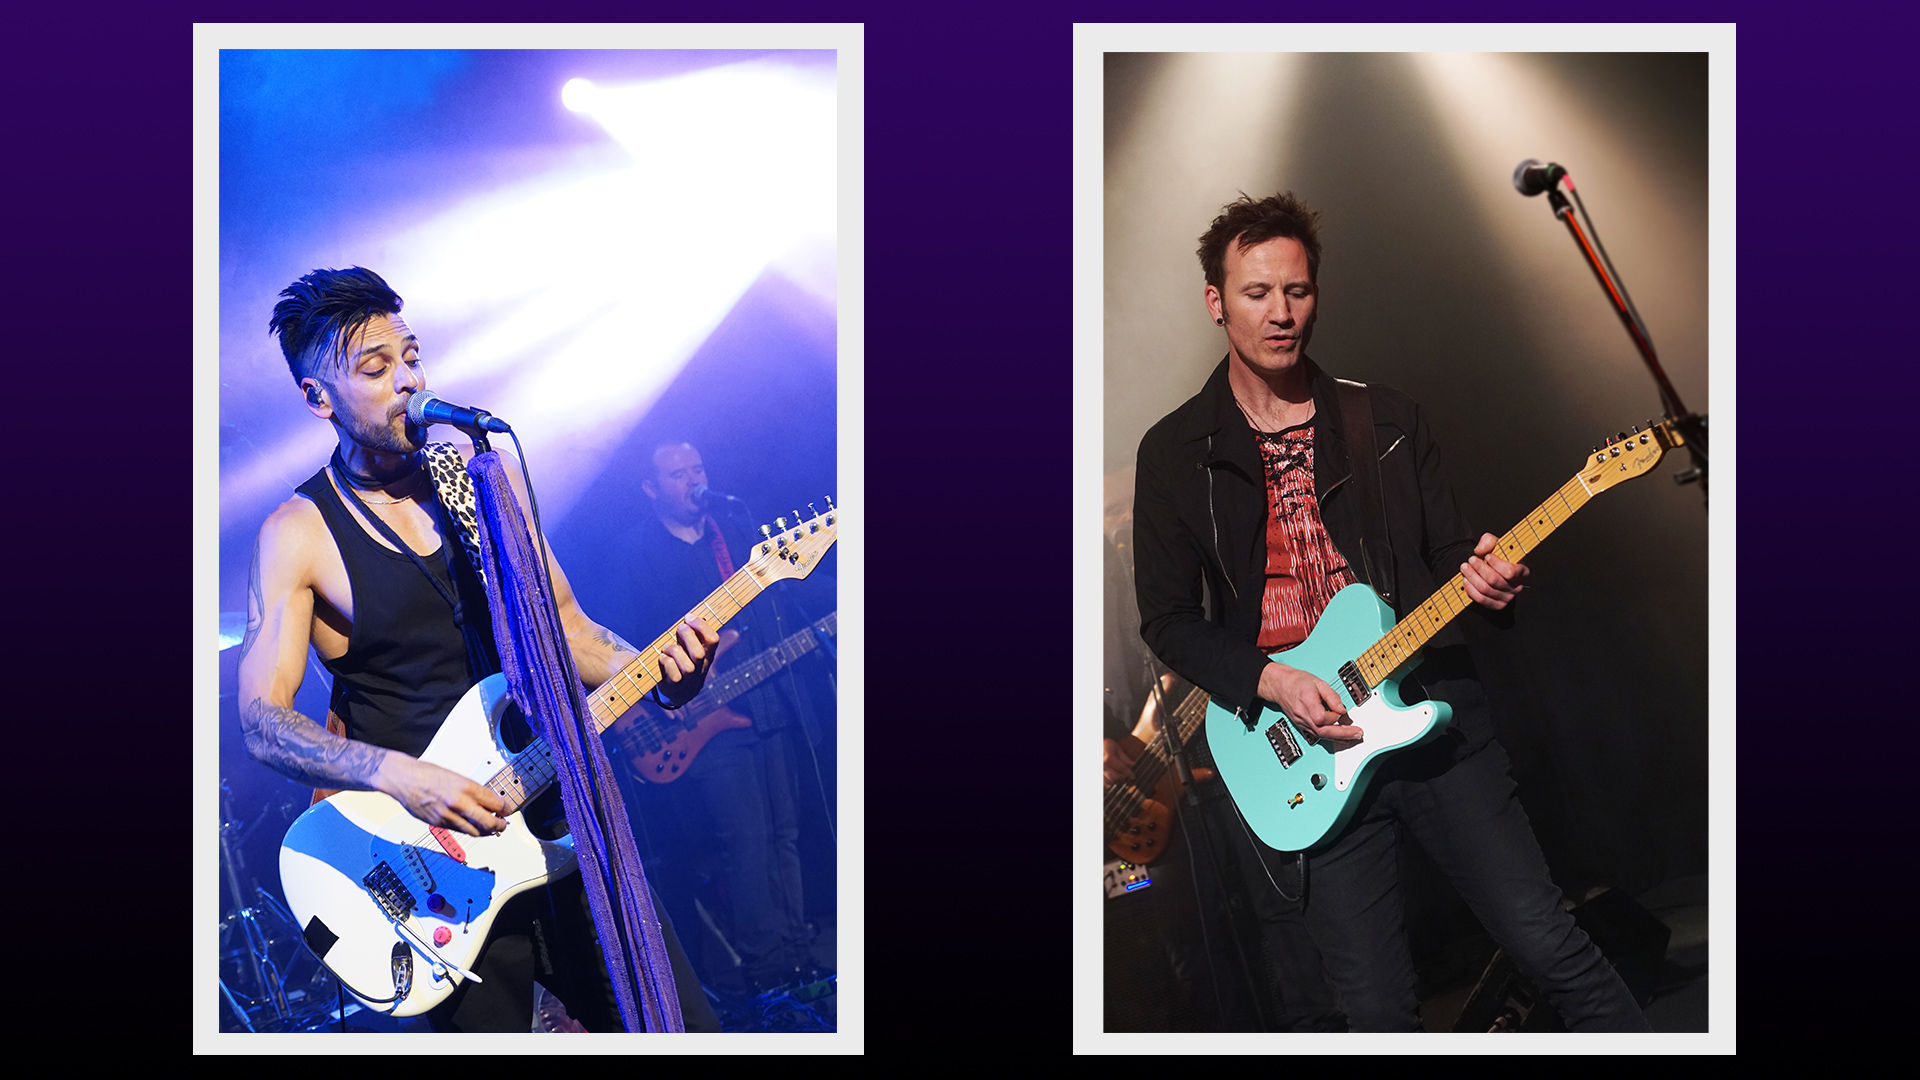
For Portrait images we used Photoshop and layers to make our own background with two white rectangles on it that become picture frames when we place portrait images onto them.

Eg. For Portrait images we need to make our own two image slide that is 1920×1080 pixels in size like this one:
How to Use Filmora for Slide Shows
(Click Image to view full size)


How to Color Grade in Filmora

Colour Grading is more applicable to videos than slide shows and is easily done in Filmora.

Colour Grading includes adjusting Colour, Brightness, Contrast, Colour specific Hue Saturation, and so on.

Filmora makes it very easy by having a series of Preset “LUTS” to choose from which can then be modified to taste. We access the artist paint palette icon above the timeline to get to these. We can also just start making our own colour grading from scratch, and we can save any settings we do as our own permanent presets.

A “LUT” is a “Look Up Table” for color correction, but we can think of it as just a preset effect that gives a certain look to the video clip, such as black and white, vintage old school, summer haze, etc. So if we choose a “LUT” called “Cool Blue” is will make our whole scene look cool and blue tinged like when someone is standing in shaded light.

The following video shows exactly how to do Colour Grading in Filmora.


Exporting Filmora Video

Filmora offers a vast variety of output formats for our final video product.

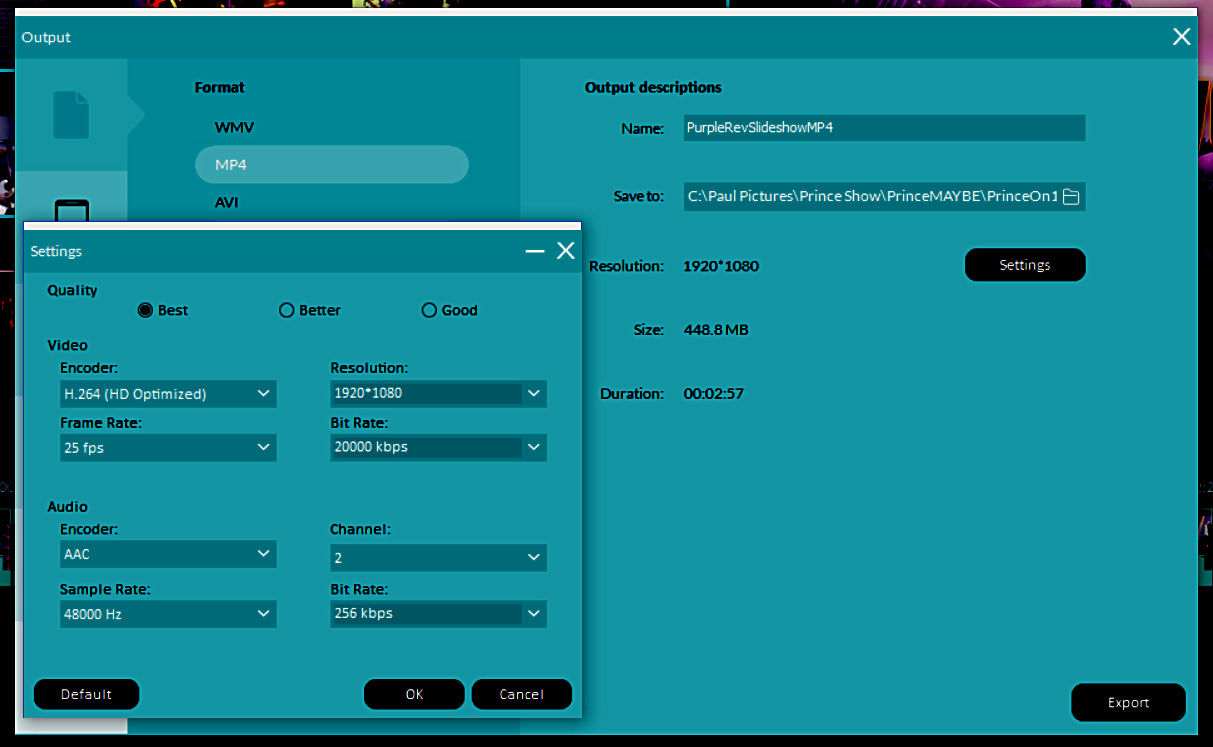
As for most video destined for the web, the best output format is H.264 MP4 video in HD at 1080p that is 1920×1080 pixels in size.

Here are the settings that we used to Export our Music Slideshow Video:
How to Use Filmora 04
(Click Image to view full size)


Putting Images On Top

The following video shows how you can overlay your own clear background PNGs over the top of a slide or video in Filmora.

This next video shows how you can make an on top image move around the screen, like a PowerPoint fly in type title:


Filmora Effects Packs

How to Use Filmora for Photos

Filmora comes at a cheap purchase price but is a lot more versatile if additional Effects Packs are purchased.

Most of these are reasonably priced at $9.99 each. So far we have purchased the “Retro 80’s” and “Fashion” effects packs.

The following video gives an overview of Filmora Effects Packs:

The Filmora Effects Store is located at the link below:

Filmora Video Effects Store

Something we have not quite figured out is that not all of the available packs seem to be shown on the official Filmora Effects page, and there are two tabs on the page that can be clicked to list effects.

For example, we only found the “Retro 80’s” pack by going to the “Fashion” pack, where the “Retro 80’s” pack then came up as a suggested addition.

Possibly some packs are seasonal, and so something like a Valentines Day pack is perhaps only available around Valentines Day time of the year.


Filmora You Tube Channel

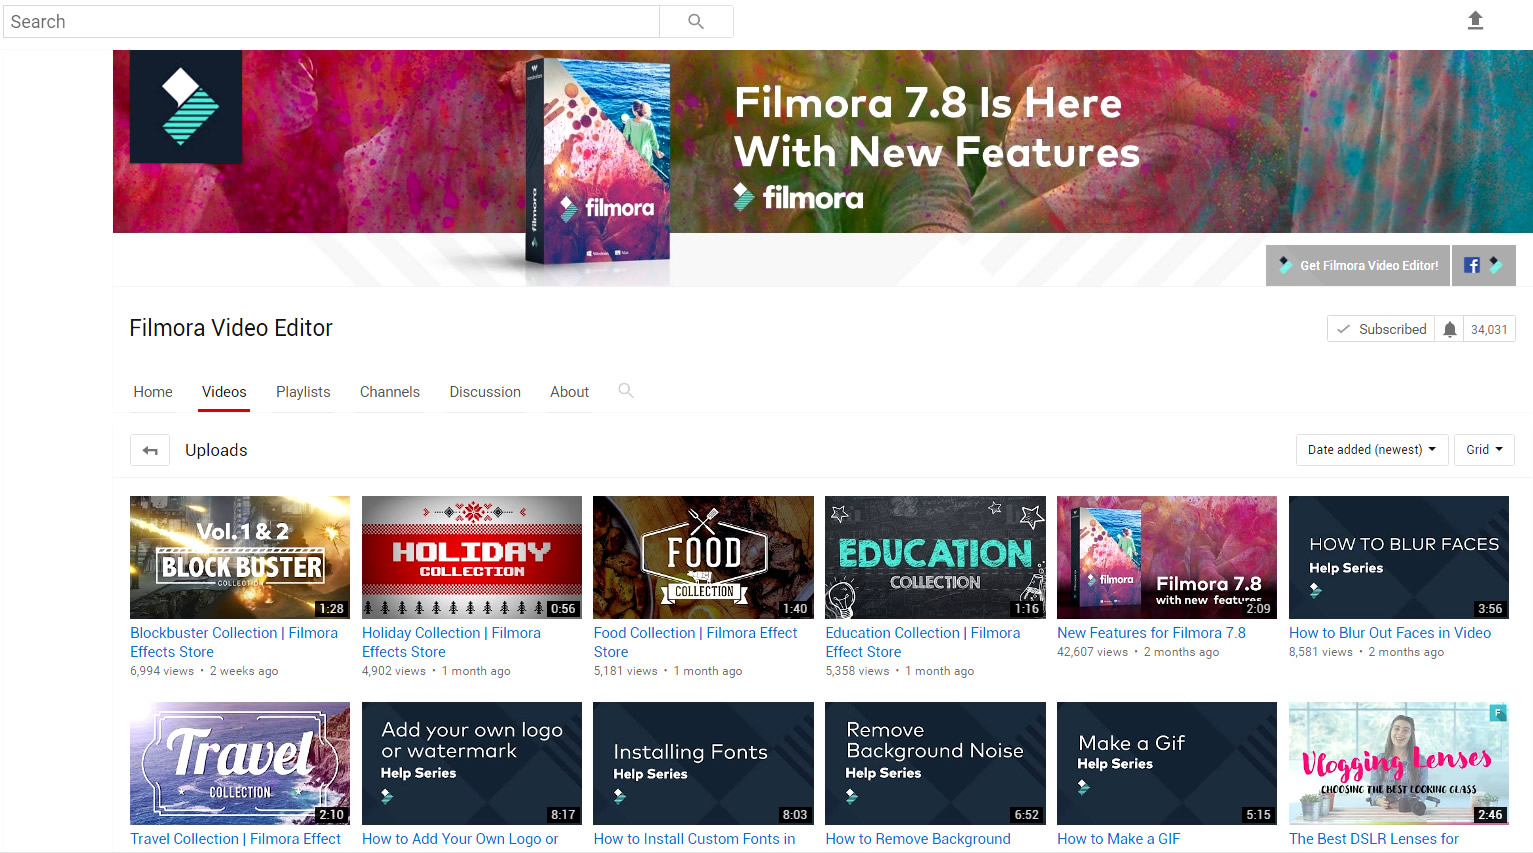
Filmora has a great YouTube channel that has over 120 videos to help us with everything we need to know about the product.
How to Use Filmora for Making Slide Shows
(Click Image to view full size)

Click the link below to go to the official Filmora YouTube channel:

Filmora YouTube Channel


Media Resources Channel

Gabrielle Marie has a YouTube Channel called “Editing Hacks” with all sorts of useful things that can be made and done in Pic Monkey and Filmora like this video inside a picture “End Slate” for a project:

Check out her complete YouTube channel here:

Editing Hacks YouTube Channel


Getting Filmora

Filmora is available for Windows PC, Apple Mac, and Mobile devices.

Software is available as a free trial, but the free trial output videos will have a large watermark across the middle of them.

Filmora can also be purchased with a number of packages on offer including yearly subscription, lifetime copy, lifetime multi user, personal, business, and education.

Find out more at the Filmora Website:

Purchase or Trial Filmora


Filmora Community

How to make slide shows with Filmora

Joining the community is free and gives access to additional tutorials and information.

These tutorials cover specialised video making and developing You Tube channels.

Coming to the community soon will be the opportunity for people to submit videos to competitions and write blog posts to the community blog.


Conclusion

We have been loooking for a Slideshow Maker for our still images, particularly for our music photos.

We have found Adobe Premiere and After Effects to be far too complicated for this task, and have been fortunate to get onto Wondershare Filmora.

Filmora is simple to use, has great special effects, and produces quality HD output. Going forward it also has 4K video capacity. It is at a great price point, and people can elect to buy it outright, rather than have to pay an ongoing subscription.

Filmora has great video editing processing as well, and so we can use it for simple movie projects that do not require several layers for multiple camera footage.

Our current plan is to develop a new Product Line for Photos By Passy that involves offering clients Video Slideshows made with Filmora, as well as the usual set of still shots.

Our vision is that this will produce additional online materials for our clients, diversify our product offerings, and set us apart from the competition. Filmora will be with us at every step along this journey.

With its amazing price, and ease of use, we recommend it to all photographers as the go to tool for basic video work and Slide Show presentations.

Click the link below to trial and/or purchase Filmora today:

Purchase or Trial Filmora

Enjoy,
Passy

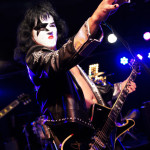
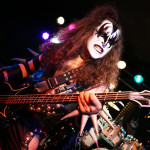
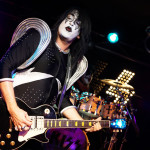
Kisstroyer – July 2014

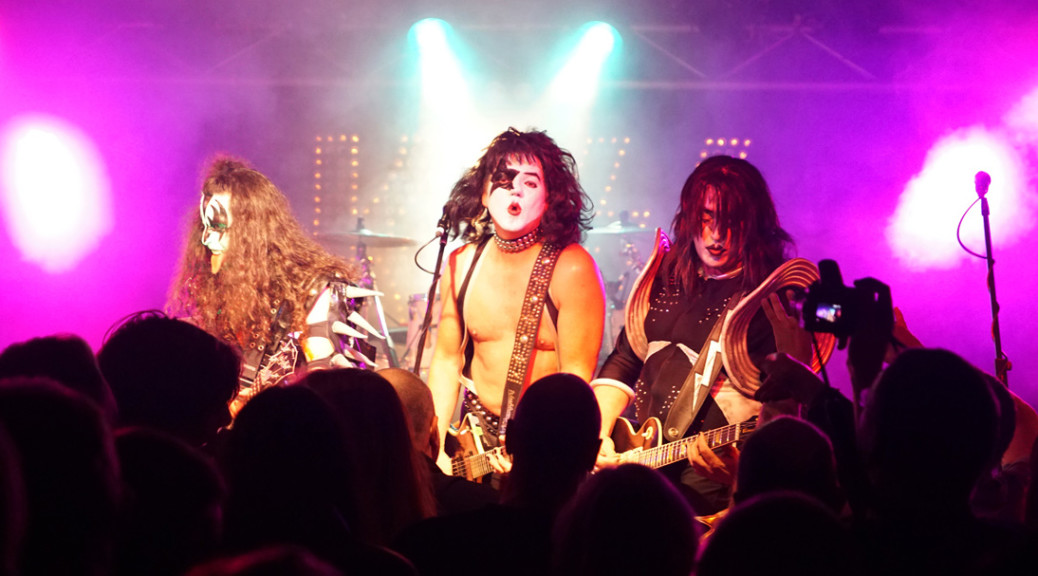
These guys are so much like Kiss that it is spooky!

They are one of the best Kiss Tribute bands going around, but be prepared because they are very Loud.

A great 110 percent show of Kiss Songs, delivered by the Kisstroyer band at the Sandbelt Hotel, to a very large and appreciative crowd.

A full Flickr Gallery of Band Photos can be viewed here:

Flickr Photo Gallery of Kisstroyer July 19th 2014


A full Flickr Gallery of “Meet and Greet” Photos can be viewed here:

Flickr Photo Gallery of Kisstroyer Post-Show Meet and Greet

Further information about Kisstroyer can be found at their Facebook Page:

Kisstroyer Facebook Page

Kisstroyer also has a website at the following link:

Kisstroyer Website


EQUIPMENT:

Sony Alpha A-77 Mk II Camera
Sony 18-50mm F2.8 kit lens

Sony Alpha A-55 Camera
Tamron 24-70mm F2.8

Sony HVL-F43M Flash
Gary Fong Gamma Blade Diffuser

Panasonic Lumix LX7 Compact Camera

This shoot was a two camera shoot with myself using the Sony A77, and my assistant Julie using the Sony A55.

Some distant large size crowd shots were also taken using the Lumix LX7 Compact Camera.

All of the post-show “Meet and Greet” photos were taken with the A-77 and the Sony Flash and Gary Fong Diffuser.

This was the first shoot I have done using the upgraded Sony A-77 Mk II camera teamed with the Sony 18-50mm lens, rather than the original A-77 with the Tamron 17-50mm that I have been using previously.

It is still to early to tell if the new A-77 MK II setup with the Sony lens is superior to the original A-77 with the Tamron, but it certainly produced some good shots at this gig. It also seemed to focus a lot quicker.

The challenge at this shoot was the rapidly changing lighting conditions. These quickly went from full on bright light, to colored lights, to smoke machine, and to very bright lights shining straight out from behind the band. I found myself continually adjusting the ISO up and down between ISO 200 and ISO 1600.

It was a case of shoot, check the shot quickly, adjust the ISO and shoot again, and then keep repeating until it looked best. Then as soon as the lighting changed, repeat the whole process again.

All A-77 Band shots were all done in full manual “M” mode, with shutter speeds between 1/80 and 1/125 and Aperture kept at f2.8 .

The ever faithful Sony A-55 continues to get good shots when teamed with the Tamron 24-70mm F2.8 lens. This seems to be a great combination, and the camera is left set on “SCN” and “Sports” mode and was used by my assistant Julie as if it was a simple Point and Shoot camera. Even though it is several years old, I am not going to sell off this camera anytime soon! It just goes to prove the old saying: “It is all in the glass”. (The glass being the lens that you are using).

The Lumix LX7 did not get many good shots, but was okay for the occasional wide angle crowd shot.

Sony are not known as great low light cameras compared to Nikon and Canon, but I am quite happy with the shots I am getting, although they are slightly darker than I would like sometimes.

They seem to be reasonably sharp, and I love the colours that come out of Sony cameras.

For now I am remaining a Sony Fan Boy!


Subscribe

If you enjoy visiting Photos By Passy, why not get a free subscription to the website.

You can then receive notifications of new items and updates directly to your email address.

Go to the subscribe area on the left hand sidebar, (or down the bottom of the page if using a mobile phone), fill in your email address and then click the “Subscribe” button.

Enjoy,
Passy
Bon Jovi Show – June 2014

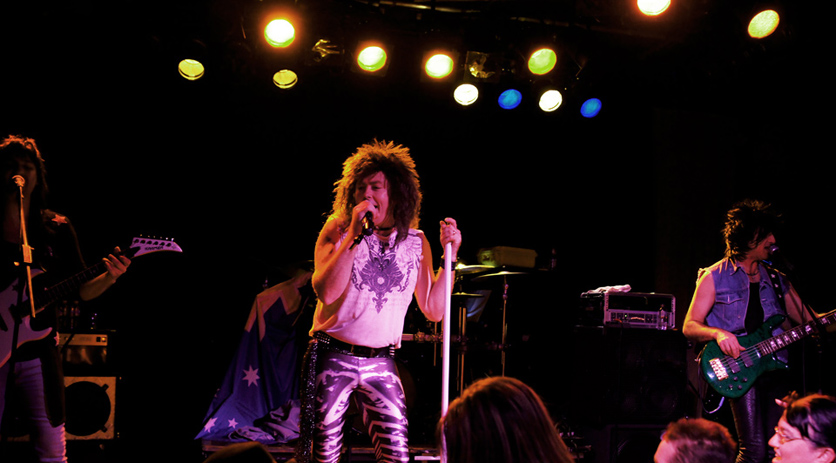
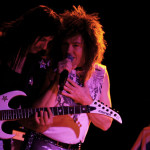
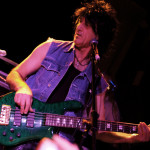
The “Australian Bon Jovi Show” are a brilliant tribute show band from Melbourne Australia.

These photos are from their show at The Espy in St Kilda on Friday June 27th 2014.

These guys are the real deal and play all of Bon Jovi’s Greatest Hits with great gusto and perfect detail.

The crowd totally loved this band and were up dancing and singing until the early hours of the morning!

A full Flickr Gallery of Photos can be viewed here:

Flickr Photo Gallery of Bon Jovi Show June 27th 2014

Further information about Cuckoo For Caca can be found at their Facebook Page:

Australian Bon Jovi Show Facebook Page


EQUIPMENT:

Sony Alpha A-77 Camera
Tamron 17-50mm F2.8

Sony Alpha A-55 Camera
Tamron 24-70mm F2.8

Sony HVL-F43M Flash

Gary Fong Gamma Blade Diffuser

Gary Fong Collapsible Lightsphere Diffuser

Panasonic Lumix LX7 Compact Camera

(Note that this write up is mostly the same as we did for “Cuckoo For Caca”, as both bands played at The Espy on June 27th).

This shoot was in the Gershwin Room at The Espy where they usually have great lighting, but heartbreakingly nobody was working the lighting desk, and the lights were just set on “set and forget”!

This meant that the Drummer and Keyboard Player were in the shadows a lot of the time. Not at all ideal conditions for getting good photos.

The drummer was actually impossible to get a shot of, and was basically in complete darkness.

Only the singer was in reasonable good lighting, and the Bass Player was also forward on the stage in reasonable light some of the time.

The Sony A-77 had to be set to an unfavourably high ISO of 1600, Shutter 1/100, and Aperture full open at 2.8. This resulted in quite grainy shots, which were dull and dark.

The Sony A-77 really only works well up to ISO 800, because it is not a great low light camera like the Nikon cameras are. However on ISO 1000 with the Flash, and a shutter speed of 125, the A-77 is unbeatable for “Party People” shots.

In addition, a lot of the band shots were not crisp in focus, which was perhaps due to the dull light, or else due to the band members moving around a bit at the shallow Aperture of F2.8.

Auto White balance was used, because the guitarist’s pure white Kramer seemed to be coming our reasonably white during the shoot. However, once unloaded from the camera, the faces on people did have a pinkish purple hue, and so maybe we should have manually set the WB onto the white guitar. Something to try out another time.

A lot of gamma exposure had to be added in Photoshop, to reduce the background grains, as well as heavy use of the smart sharpen filter.

In addition, most of the shots were de-saturated and adjusted using Hue/Saturation in Photoshop. Shots with horrible red light on them were converted to a small set of black and whites in the Album.

“People Pictures” were taken with the Flash mainly on 1/8 Power, Manual, and 50mm wide beam. The shots were overly bright out of the camera, but then had Photoshop Exposure Gamma added into them to tone down the brightness and bring in some facial colour.

The Gary Fong Blade Diffuser did a great job as usual, and there was only a small amount of white flash burn on nose tips and cheeks, which we fixed in Photoshop using the Rubber Stamp Clone Tool, set to a transparency of 65%.

The People Pictures were left quite bright, because on energy saving mobile phones they look best when made quite bright on the PC.


The Sony A-55 was set to Auto SCN “Sports Mode” and used with the bigger Tamron 24-70mm lens, which seems to be a god combination and produced some great close up shots.

The Panasonic Lumix LX7 produced a few good crowd pictures, but does not seem to be working so well of late. I need to go through the CD Advanced Manual and see if some of the settings have gone astray.


Subscribe

If you enjoy visiting Photos By Passy, why not get a free subscription to the website.

You can then receive notifications of new items and updates directly to your email address.

Go to the subscribe area on the left hand sidebar, (or down the bottom of the page if using a mobile phone), fill in your email address and then click the “Subscribe” button.

Enjoy,
Passy
The INXS Show at Trak

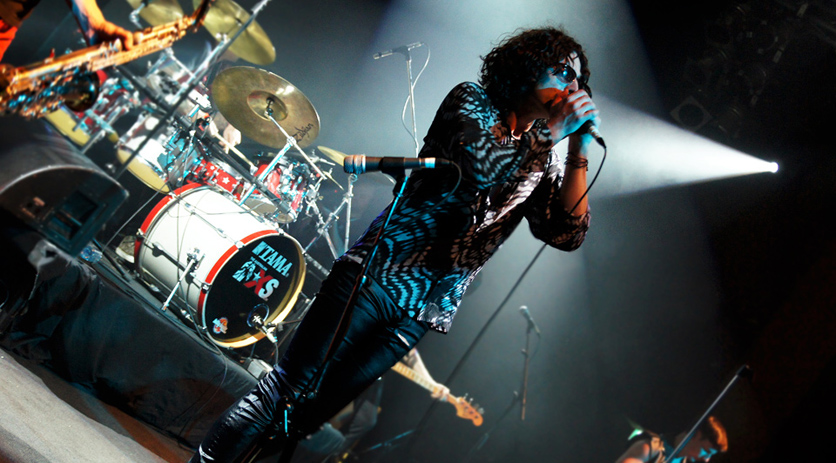
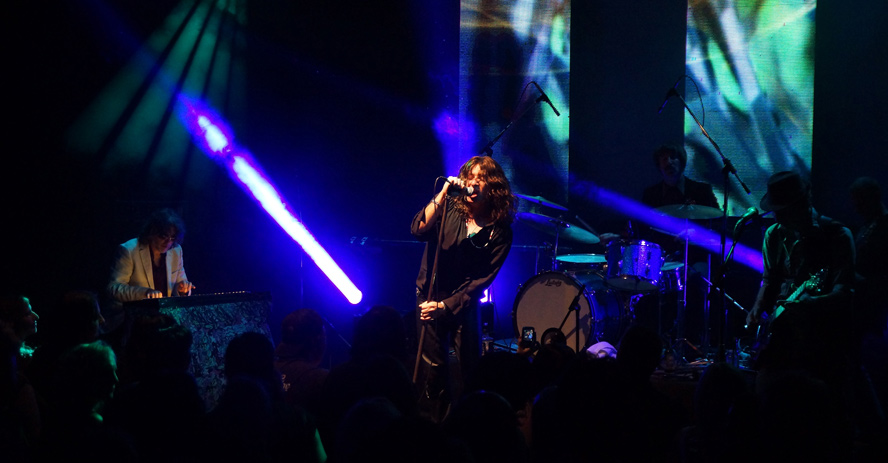
The Australian INXS Tribute Band played a fantastic live show at the Trak Lounge in Toorak on May 30th.

Photos By Passy covered this event as the band’s photographer of choice.

I went along with my standard Sony A-77 setup, and I also took a travel photographer friend along, (who has never shot a Band before), and gave him the Sony Alpha-55 to shoot with.

The band put on a great performance to a packed house, and we were delighted to be the guys capturing it in images for them.

We had access to all areas, including the VIP Bar, as well as the band’s backstage room. Trak Live Lounge certainly is a great venue with superb stage lighting, great video effects, and well designed tiered viewing areas.

A full Flickr Gallery of Photos can be viewed here:

Flickr Photo Gallery of The Australian INXS Show at Trak

Further information about The Doors Show can be found at their Facebook Page:

The Australian INXS Show Facebook Page


EQUIPMENT:

Sony Alpha A-77 Camera
Tamron 17-50mm F2.8

Sony Alpha A-55 Camera
Tamron 24-70mm F2.8

This shoot was done at ISO 1000 on the A-77, using the 17-50mm F2.8 lens with a shutter speed of 1/100 to 1/125.

We probably could have gone down to ISO 800 or lower for some of the shots, but chose to use ISO 1000 for the whole shoot.

The A-55 was set to SCN Sports Mode, and so all shots on this camera were done in auto mode.

The A-77 produced better shots than the A-55; however we got some good close ups on the A-55 using the 24-70mm F2.8 lens, and we were able to make use of these in the final album.

The lighting was so good that there was minimal photoshopping required of the images from both cameras.

All that was done was adding a bit of gamma, and sharpening up some of the shots.

The INXS Band is off to Darwin and Sydney over the next couple of months, but we hope to catch them again in Melbourne sometime in 2014.

The Doors Show was the support act for the INXS Show, just in case you were thinking you may have seen some of this write up previously.

We would definitely like to shoot at the Trak Lounge again, it is a great venue, with very good lighting and the staff and management are extremely professional.


Subscribe

If you enjoy visiting Photos By Passy, why not get a free subscription to the website.

You can then receive notifications of new items and updates directly to your email address.

Go to the subscribe area on the left hand sidebar, (or down the bottom of the page if using a mobile phone), fill in your email address and then click the “Subscribe” button.

Enjoy,
Passy
The Doors Show at Trak

This was a great show at Trak Live Lounge Bar in Toorak.

I took a travel photographer friend along, (who has never shot a Band before), and gave him the Sony Alpha-55 to shoot with.

We had all areas access, including the VIP Bar, and it was a great venue with superb stage lighting.

A full Flickr Gallery of Photos can be viewed here:

Flickr Photo Gallery of The Doors Show at Trak

Further information about The Doors Show can be found at their Facebook Page:

The Australian Doors Show Facebook Page


EQUIPMENT:

Sony Alpha A-77 Camera
Tamron 17-50mm F2.8

Sony Alpha A-55 Camera
Tamron 24-70mm F2.8

This shoot was done at ISO 1000 on the A-77, using the 17-50mm F2.8 lens with a shutter speed of 1/100 to 1/125.

We probably could have gone down to ISO 800 or lower for some of the shots, but chose to use ISO 1000 for the whole shoot.

The A-55 was set to SCN Sports Mode, and so all shots on this camera were done in auto mode.

The A-77 produced better shots than the A-55; however we got some good close ups on the A-55 using the 24-70mm F2.8 lens, and we were able to make use of these in the final album.

The lighting was so good that there was minimal photoshopping required of the images from both cameras.

We would love to shoot at the Trak Lounge again, it is a great venue, with vgood lighting and is very professionally managed.


Subscribe

If you enjoy visiting Photos By Passy, why not get a free subscription to the website.

You can then receive notifications of new items and updates directly to your email address.

Go to the subscribe area on the left hand sidebar, (or down the bottom of the page if using a mobile phone), fill in your email address and then click the “Subscribe” button.

Enjoy,
Passy