In this lesson we look at what is required to get fantastic photos and videos while out on the water and under the water.
Let’s start with a How To Video we have made all about filming Underwater using the sensational Sony X1000V Action Cam.
The video is 15 minutes long but covers virtually everything that needs to be discussed in this comprehensive How To Lesson.
We commence with a couple of minutes of underwater footage we have made, and then proceed to do a full and detailed discussion of equipment, tips, and techniques for underwater filming.
Although this video gives specific details for using Sony Action Cams, most of the tips and techniques are equally applicable to GoPro, SJ5000, or any camera that is used for filming underwater.
Underwater Focusing
Any Action Cam that is used in the water must have a flat face screen on the front of its waterproof housing to be able to focus underwater.
Go Pro and SJ5000+ cameras already have a flat area on the front of the waterproof cases for their cameras.
But Sony has a rounded sphere on the front to the standard Sony waterproof case. This does not seem to make any sense, as although this might be useful for filming while on a boat, or while in the water filming Surfing, water does not run off the rounded front screen as well as a Flat front screen.
Furthermore a Flat Front Screen can be used to film above water and focuses fine, so the round screen is not needed for any use around a water environment.
With the rounded screen, images are not in focus underwater.
Sony sells a “Dive Door” which is a flat front screen for the case, which you must buy to be able to use their cameras underwater.
Eg. For the X1000V Action Cams that we have used, we had to buy the AKADDX1 Dive Door Flat front screen to fit onto the waterproof case that came with the camera.
This cost $69 Australian.
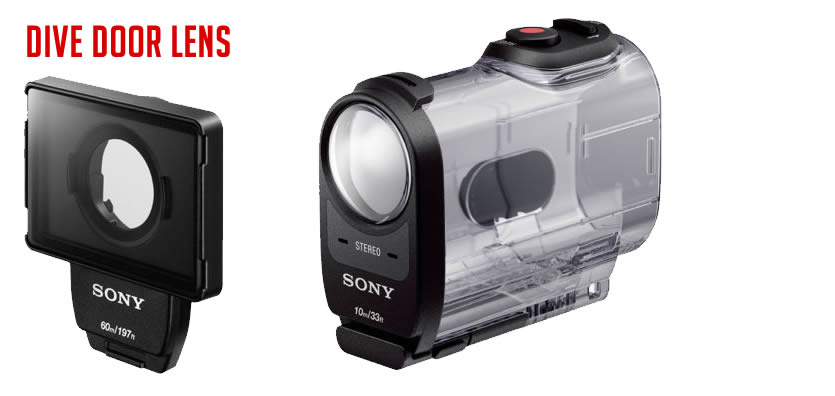
However the latest Sony X3000V is usually sold with the MPK-UWH1 waterproof housing that has a Flat Screen Dive Door on it.
It seems that the X3000V uses a different waterpoof housing case to the X1000V, as the X1000V is not listed on the Sony site as being compatible with the MPK-UWH1 housing.
The X1000V Action Cam uses the SPKX1 waterproof housing.
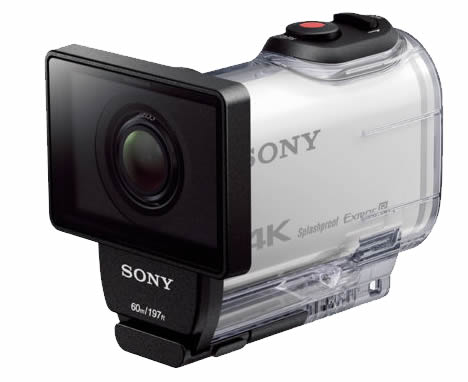
With the flat screen on you can film both above water and underwater, and so you will find yourself not using the rounded front screen at all in most cases.
We did however use the rounded screen for filming while on a sailing boat, as we could easily wipe off any water splashes that got on it with our T-shirt.
For the X1000V, basically we removed the rounded lens screen front from the standard housing and replaced it with the Flat Screen Dive Door, whenever we were going to use it for Underwater filming.
The following one minute video shows how to remove the Round Screen and fit the Flat Screen Dive Door onto the Underwater Housing.
Sony Action Cam Settings
The videos we have made so far have all been 1080p HD at 50 fps. We have not tried out 4K filming yet.
The three main settings important for underwater filming are:
1) Use the “Color Mode” = NUTRL Natural colour setting rather than the usual Vivid Setting.
Menu Path: SETUP > COLOR > Use Prev Nxt Buttons to select NUTRL and then press the top of camera Record/Enter button.
2) Set the viewing angle at 120 degrees rather than 170 degrees.
Menu Path: SETUP > ANGLE > Use Prev Nxt Buttons to select 120 and then press the top of camera Record/Enter button.
3) Most importantly make sure the “Water” Scene setting is selected on rather than the Normal setting.
Menu Path: SETUP > SCENE > Use Prev Nxt Buttons to select WATER and then press the top of camera Record/Enter button.
Using the Sony Settings Menu on the Action Cam X1000V is slightly painful, because we go down through the menus to one setting, then when we push the top record enter button, we are taken out of the Menus back to the very top level every time.
Once you get used to this annoyance is it not too bad, and once a camera is set up for a shoot we don’t usually have to go back in and change values on the fly.
An alternative solution is to use the Sony Play Memories App on a Mobile Phone to adjust all settings by scrolling down a single screen.
The 3:52 to 5:10 section of the following YouTube video gives some explanation of how to use the Action Cam X1000V Menu System and Settings, including showing the Play Memories App:
Sony Action Cam Manual
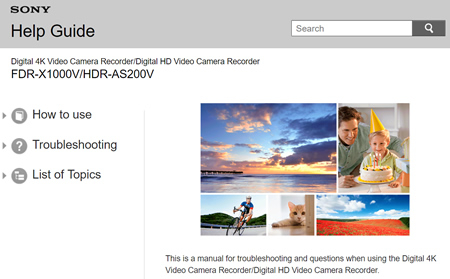
There is a great Online Help Guide for the Sony FDR-X1000V Action Cam at the following link:
Sony Action Cam Online Help Guide
In particular the following section on settings is extremely useful:
This Online help guide covers the Sony HDR-AS200V as well as the FDR-X1000V.
Minor Issues with Dive Door
We encountered three issues: Safe Mode Locking, Cleaning the Dive Door, and Dive Door Condensation.
All three of these are not show stoppers, but you need to be aware of them and know how to deal with them.
When out of the waterproof housing for normal on land filming, the Sony X1000V has a safety lock mode you can flick into safe mode to avoid recording accidentally. This locks the record button in the up position.
However it is essential that the camera is NOT in safe hold anti recording mode before going in the case, because the buttons on top of the case cannot put the camera back into Go Mode.
It is not much fun having to come back out of the water and take the camera out of the case to get the lock mode off!
This seems to be a Sony design flaw as we cannot see how to overcome it or where we are doing anything wrong. Basically there is no recording lock safe mode when using the dive housing.
When you wash the Dive Door out in fresh water after a dive, water gets inside and stuck all around the edges of the Square Dive Door. The water then stays there in tiny clumps and will not evaporate dry. The trick is to flick the dive door vigorously from side to side to move the water to the center where it can dry out. It might take a few repeats to get it all fully dry. Leaving the Dive Door on a table out in the sun certainly helps.
There can also be persistent salt spots that you need to remove after the first drying by repeatedly re-washing the dive door.
It is extremely important to thoroughly soak and wash the Dive Door, the Underwater Case and the Monopod Selfie Stick after using them in Salt Water. We would recommend washing and drying them two or three times before the next dive.
The third and final issue that only happened twice during our entire dive trip was inside the housing case water condensation. This was the trickiest problem where all of a sudden there was lots of condensation inside the dive door. All filmed video comes out very cloudy and blurred if these very small water condensation bubbles are not removed.
What we had to do was very carefully tread water with our flippers at the water surface and hold the Action cam well above the water. Then we carefully unclipped the Dive Door and pointed it at the sun for a minute or two which quickly evaporated away all of the water condensation. We then snapped the dive door back shut on the case and continued our filming.
If we wanted to be a bit more safer, we could return to the boat and do this all safely out of the water.
Swimming Pool Practice
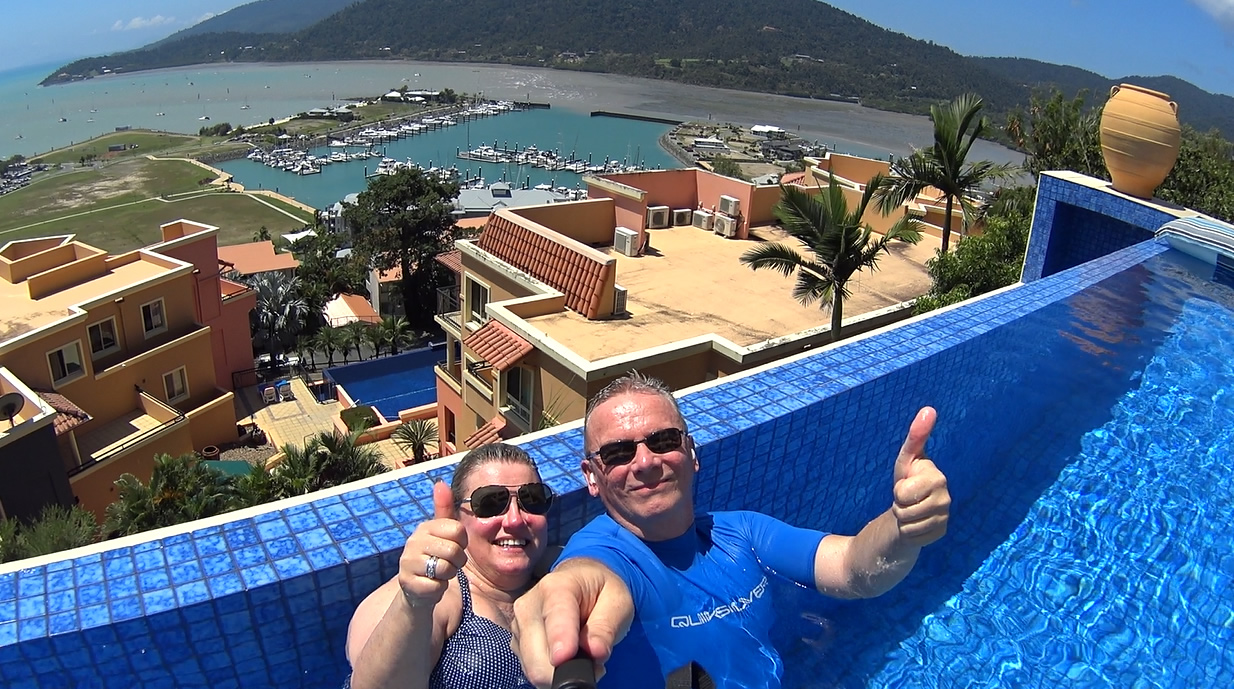
We highly recommend that you practice in a swimming pool before trying out your Action Camera out at sea.
Practice both above water and underwater shots, a great shot to practice is the slowly turning around 360 filming shot.
For your amusement here is a one minute Practice Video we made at our Hotel using the Swimming Pool.
The Selfie Stick
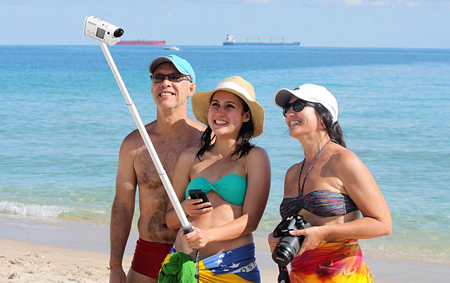
It is well worth getting a quality Selfie Stick, that is well made and fully waterproof and will not rust.
The best one to use is the Sony “Action Monopod”, and if you do not believe us then take a look at the following video from 6:15 onwards.
On the Sony Stick, the wrist strap fits well, and it is great having the thick padded rubber handle. The Sony Stick is thick and solid with a standard Tripod screw mount and so other cameras can also be used with it.
One important thing about the stick is that when it extends it is twisted to tighten it into position. Be very careful to just do a small gentle twist, as strong twisting will jam the stick and make it very difficult to undo again.

Filming Tip: When using the Selfie Stick to film video while moving in a circle, move and pan very slowly to avoid rolling shutter blurring.
Selfie Stick Angle
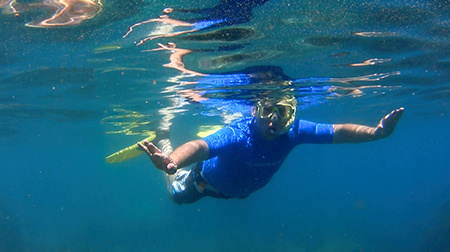
When we first started filming underwater we held the Monopod stick with the Action Cam on the end of it at a fairly straight angle horizontal to the surface.
However, as shown in the image above, holding the stick straight captures a lot of distorted back reflection from the water surface.
So it is best not to hold the stick horizontal.
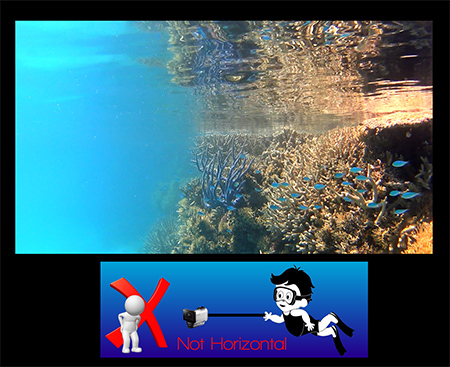
Instead make sure the Monopod Stick is pointed downwards between 30 and 45 degrees to the water surface.
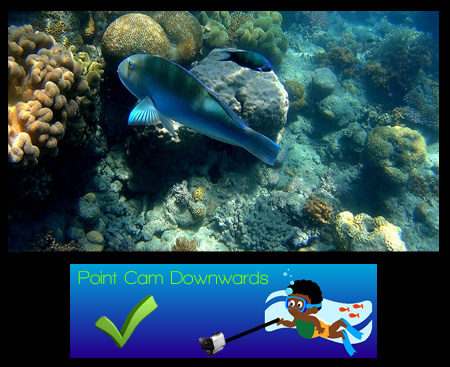
Do not to worry when using a selfie stick about not having your hands available for swimming, as the flippers using stiff leg actions give you plenty of propulsion power, leaving your hands totally free for filming. It is best to look down at 45 degrees because if you tip too far forward water will flow straight down your snorkel.
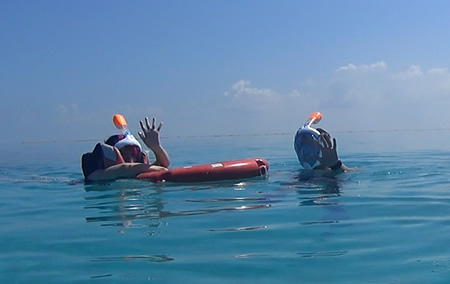
How to Snorkel
Snorkeling is very easy if you can already swim and are confident in the water.
If you are not a great swimmer then use a floating pool noodle or a life preserver ring to float around and film with, although the results might not be quite as good as swimming and snorkeling. However your own water safety comes first and should be your greatest consideration.
Check out the following seven minute video on How To Snorkel.
Finally don’t touch anything with the camera or your body on a coral reef! Firstly because touching coral can kill the coral, and also do you a serious coral cut injury.
How to Film Fish

Fish are easily frightened and often when we encounter them they swim off straight away and out of sight into deeper water.
The best shots have the fish with some coral, and so we need to slowly swim past and then sneak back to where there were lots of fish previously. The fish seem to often come back to where they were within a couple of minutes after we frightened them away. We can float around if the tide is suitable above the reef with our camera going and see what we encounter. The worst thing to do is to swim around quickly all over the place chasing fish.
The following four minute video gives some great tips about how to film fish underwater.
Water Depth and Tides
First of all you need a bright sunny day for filming fish and coral, unless you are scuba diving and have underwater lights.
The tide and currents are very important for both filming and your personal safety.
The ideal is a medium tide where you can safely swim over the top of the reef coral, but also be able to go along the edge of the reef in the deeper water. The most important thing is that you do not want to get stranded on top of coral in shallow water where you might bump and damage the coral or get coral cuts which are very unhealthy for you. We found you can drift gently over coral in very shallow water that is only about 30cm or 1 foot deep but this was by accident and we do not recommend trying it.
In warm salt water you will find that you are naturally very buoyant and floating over the top of the coral will not be a problem. Just relax and gently flip your swim fins with smooth strong strokes using mostly straight legs.
Coral Cuts and Jelly Fish
As already mentioned don’t touch anything with the camera or your body on a coral reef! Firstly because touching coral can kill the coral, and also do you a serious coral cut injury.
The problem with Coral Cuts is that there are live organisms in the cut and a serious infection can result.
Advice from the Internet is to do the following:
– Clean vigorously (scrub as hard as the pain permits with a toothbrush, and then flush with fresh water as soon as possible after the coral cut.
– If it is stinging then you can rinse it with a form of acetic acid such as vinegar.
– Flush with 1/2 fresh water and 1/2 hydrogen peroxide, and/or treat with Betadine.
– See a Doctor and get Antibiotics.
For more information, check out this article:
The other hazard that you might encounter snorkeling on the Barrier Reef in Australia is a Jellyfish Sting, especially during Jelly Fish Season.
The best prevention is to wear a light weight “Stinger Suit” that are provided free of charge on most day snorkeling trips.
The suits are made of lightweight loose stretching material, and although they look like a wetsuit they are very comfortable and easy to swim in.
Here is a short two minute video on how to treat Jelly Fish Stings:
As Vinegar is used for treating both Coral Cuts and Jelly Fish Stings it could be very handy to have some with you when going on a snorkelling trip.
Capturing Still Photos
We have found that it is far better to capture stills off HD Video, rather than put the Action Cam into camera mode and shoot underwater still shots. The same also applies for any other above water shots from the Action Cam.
The basic method is to simply play the Action Cam HD video on a Laptop Computer and push the Print Screen button to capture a still.
We then take this still into Photoshop, make some basic adjustments, and then save it as a JPG image.
There are often a lot of small dust type particles in the water that all reflect sunlight. This makes images overly bright, as well as making the water slightly cloudy.
Making a few basic Brightness, Contrast, and Saturation adjustments in Photoshop can fix all of these problems.
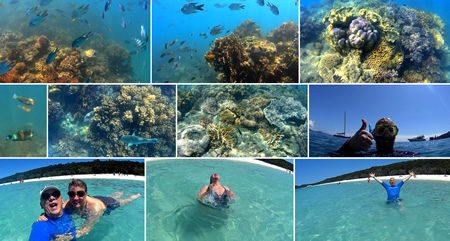
Check out the following set of Still Images which were all made from Video Print Screen Captures.
Underwater Stills Captured from Video
Sony Action Cam Videos
Here are some of our videos made with the Sony Action Cam that include underwater footage.
Make sure you click on the HD icon at the bottom right hand corner of the Video Player and watch these in 1080P resolution.
This next video contains underwater footage at a remote offshore lagoon, 200km offshore from the Australian Coast.
This third and final video was shot both above and below the water entirely on the Sony FDR-X1000V Action Cam.
Exploring the undersea world is a fantastic experience, and even better when it can be captured so easily and superbly using the Sony Action Cam!
Enjoy,
Passy